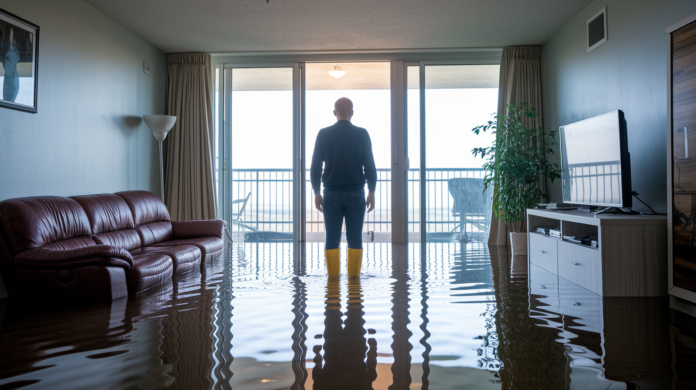

Water doesn’t care that you’re renting. It shows up uninvited, ruins your stuff, and leaves you standing in a puddle wondering what the hell to do next. If your apartment just flooded, you need a plan right now, not later. This guide walks you through immediate safety steps, how to stop more water damage, dealing with your landlord’s legal responsibilities, and getting your place dry before mold takes over. Follow these steps in order and you’ll protect yourself, your belongings, and your rights as a tenant.
Critical Actions to Take Immediately During Flooding
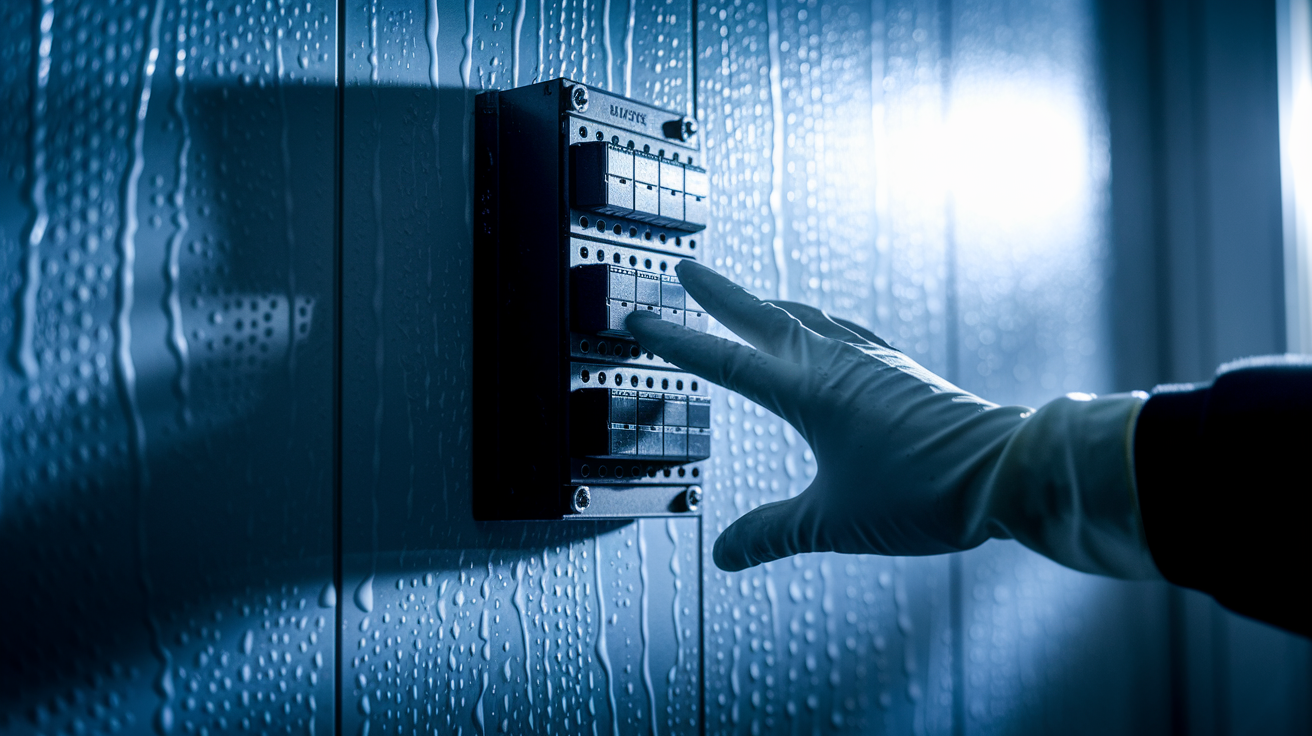
Three critical moves for apartment flooding: (1) Get yourself safe and evacuate if water’s above your ankles, you smell gas, or you see sparks; (2) Kill the power at your circuit breaker if you can reach it without stepping into water; (3) Stop the water source if it’s possible.
Electrical hazards are the biggest immediate threat when flooding hits. Don’t ever walk into standing water if outlets or appliances are underwater. Water conducts electricity through the entire flooded space and can kill you instantly. Stay away from all electrical equipment in wet areas. Light switches, power cords, electronics, all of it. You need to evacuate right now if you see sparking from outlets, smell burning electrical components, or feel tingling when you’re near water or touching walls. If you can safely reach your breaker panel without stepping into standing water, shut off the main power before you try anything else.
Other safety steps to take immediately:
- Look at the situation from somewhere safe before you enter flooded areas
- Check for gas leaks by smell (rotten eggs) or listen for hissing near gas appliances
- Keep everyone in your household and your pets away from flooded rooms until you know it’s safe
- Avoid contaminated water that might have sewage, chemicals, or sharp stuff you can’t see
- Call 911 if you observe gas leaks, electrical problems, or anything life threatening
Get out immediately if water’s over ankle depth, if there’s any electrical or gas danger, if you notice walls cracking or ceilings sagging, or if you can’t safely reach the breaker to shut off power. Your life’s worth more than any stuff or cleanup. Once you’re safely outside, call building management and emergency services from a secure spot to report what’s happening.
Stopping the Water Source in Your Flooded Apartment
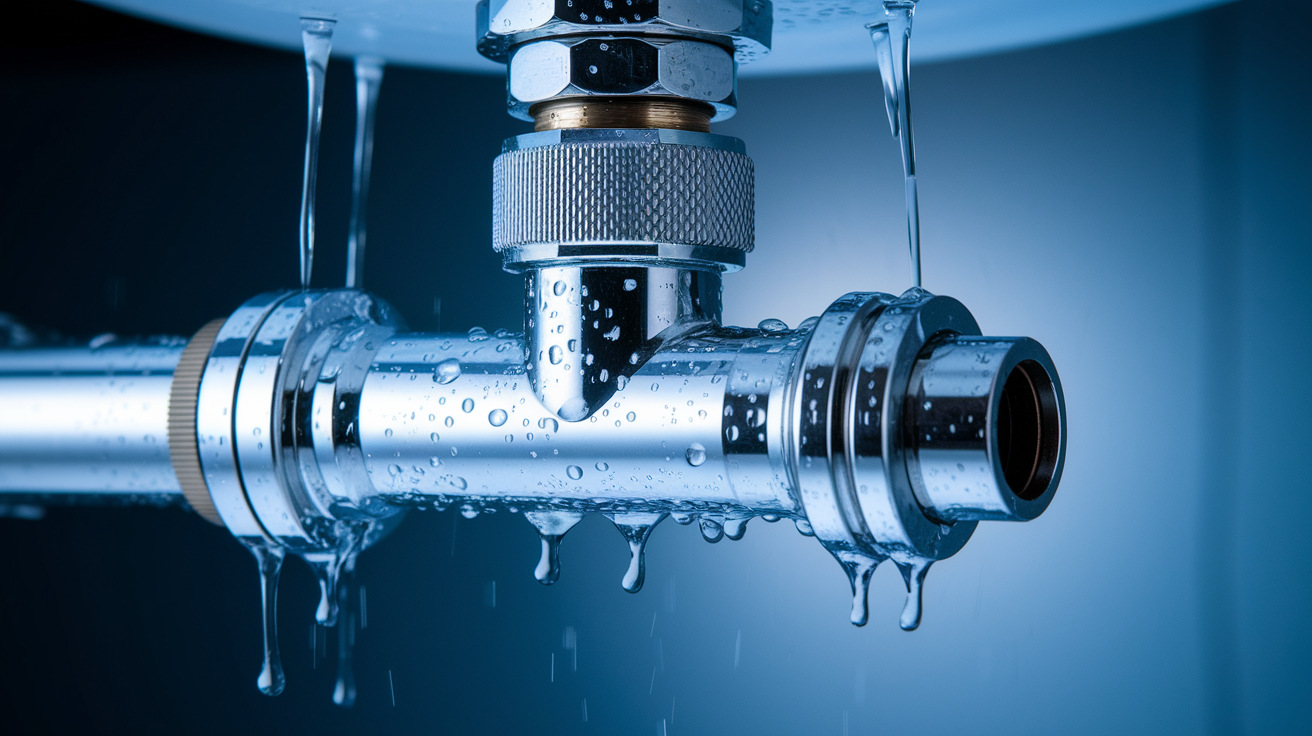
After you’re safe, stopping the water becomes your second priority to prevent more damage while you wait for help. Every minute water keeps flowing adds to your losses and makes restoration take longer.
Common apartment water sources that flood units:
- Burst pipes from freezing, age, or pressure in walls or under sinks
- Broken appliances like washing machines, dishwashers, water heaters, and fridge ice makers
- Upstairs neighbor problems like overflowing tubs, broken pipes, or malfunctioning appliances
- Ceiling leaks from roof damage, clogged gutters, or HVAC condensation
- Backed up drains from clogged pipes or sewer overflow during storms
Most shut off valves are pretty predictable once you know where to look. Toilet valves sit on the wall right behind the toilet, near the floor on the water line. Under sink shut offs appear on the hot and cold lines beneath kitchen and bathroom sinks, usually with oval handles you turn clockwise. Washing machine valves mount on the wall behind the unit with separate red (hot) and blue (cold) handles. Your apartment’s main water shut off typically lives in a utility closet, near the water heater, or under the kitchen sink. Turn it clockwise to stop all water to your unit.
| Water Source | Shut-off Location | Who to Contact |
|---|---|---|
| Burst pipe in your unit | Main shut-off valve in your apartment | Landlord/property manager immediately |
| Toilet overflow | Valve behind toilet on wall | Landlord after stopping water |
| Washing machine leak | Valves on wall behind appliance | Landlord or appliance repair service |
| Upstairs neighbor flooding | Cannot shut off from your unit | Upstairs neighbor, building maintenance, landlord |
| Ceiling leak from roof | Cannot shut off water source | Landlord/property manager for emergency repairs |
| Shared building pipe burst | Building main shut-off (maintenance access only) | Building maintenance emergency line immediately |
Contact building maintenance right away if the flooding’s coming from shared plumbing, common area pipes, or other units you can’t access. Building infrastructure failures need maintenance staff to shut off the main water supply. You might need an emergency plumber for major pipe failures, gas line concerns near water damage, or when shut off valves are broken or you can’t reach them.
Contacting Your Landlord About Apartment Flooding
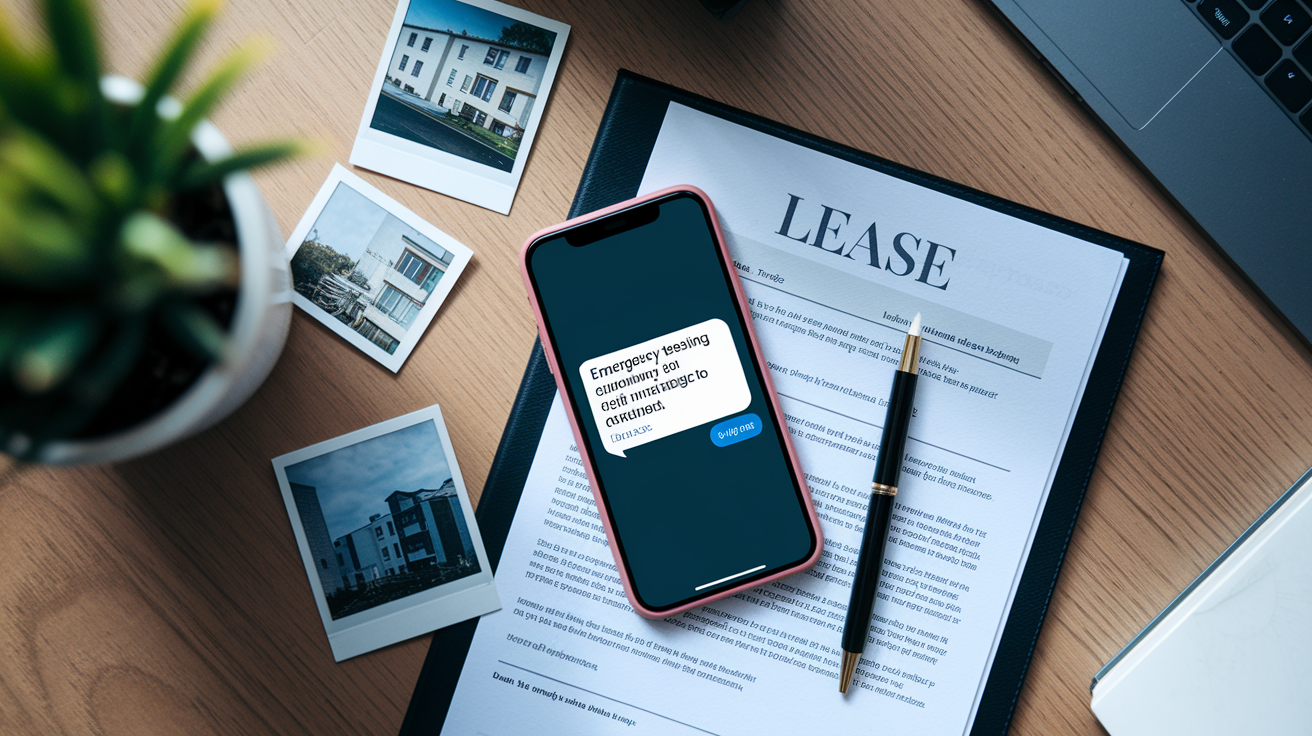
You need to notify your landlord or property manager immediately. Most leases legally require it, and it protects your rights as a tenant facing an emergency. This creates a timeline, documents what happened, and triggers the landlord’s legal responsibility to fix habitability problems.
When you contact them, give complete information so they understand how bad it is. Describe how much water there is and which rooms got hit. Identify what you think caused it if you know (burst pipe, upstairs neighbor, storm). Report safety hazards like electrical issues or structural damage. State what you need right now, like emergency repairs or temporary housing.
Steps for landlord notification:
- Call as soon as it’s safe, even if it’s the middle of the night
- Send written notice through email or text within a few hours documenting the flooding and your phone call
- Request written confirmation they got your notice and understand what’s happening
- Document all responses with dates, times, and what the landlord promised or said
Landlords have legal responsibilities under habitability laws to keep rental units safe and livable. They’re responsible for structural repairs including fixing burst pipes, repairing ceiling damage from roof leaks, addressing plumbing failures in shared systems, and coordinating mold cleanup from building problems. Your landlord must also provide reasonable restoration timelines and may need to offer temporary housing or rent reductions if the flooding makes your place uninhabitable. These obligations exist whether flooding came from normal wear, building defects, or deferred maintenance.
If your landlord doesn’t respond to emergency calls or texts, try alternate contacts like property management companies or building owners listed in your lease. Document every attempt to reach them. If they refuse responsibility or fail to act on legitimate problems, contact your local housing authority or tenant rights organization to understand your legal options. Depending on your state’s laws, you might have repair and deduct remedies, rent withholding rights, or lease termination options.
Water Removal and Drying Process
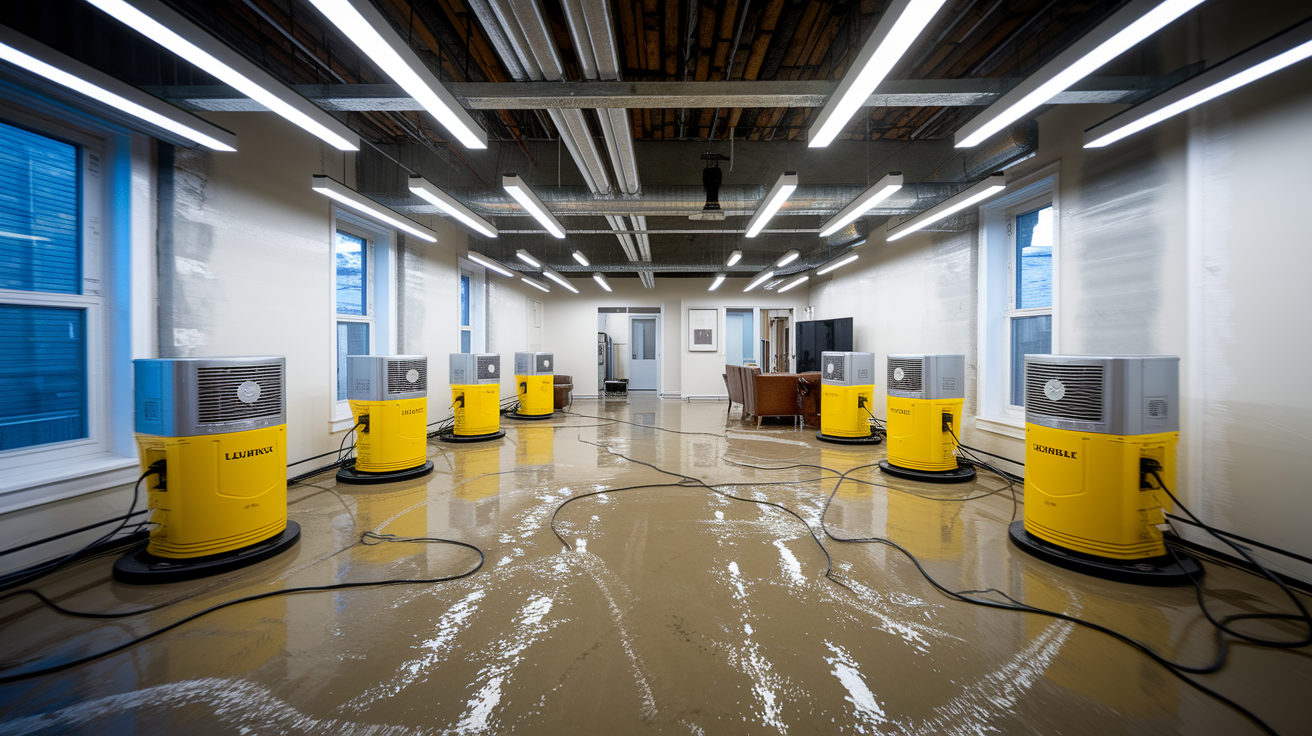
Small flooding with limited standing water that hasn’t soaked into walls or flooring can often be handled DIY style. Major flooding that saturated drywall, spread across multiple rooms, or soaked into subflooring needs professional extraction equipment. You’ve got to start water removal within the first few hours after flooding stops to prevent permanent damage and avoid rapid mold development.
For minor flooding, manual methods work when water’s shallow and hasn’t spread much. Use towels, mops, and buckets to soak up water from hard floors, wringing towels into buckets and dumping water down drains or outside. A wet/dry vacuum (shop vac) pulls standing water from floors and carpets effectively. Never use regular household vacuums in wet areas. They’ll electrocute you and destroy the motor. Start at the lowest point in your apartment to keep water from spreading to more areas as you work.
You need professional water extraction when water’s penetrated into drywall more than a few inches up from the floor, when your HVAC or ductwork got flooded, when saturation reaches subflooring or spreads between floors, or when flooding covers more than one room extensively. Professional companies use truck mounted extractors that remove thousands of gallons fast, industrial dehumidifiers that pull moisture from air and materials, high velocity air movers that direct airflow for quick drying, and moisture detection equipment that finds hidden water in wall cavities and under floors.
Best practices for water removal and drying:
- Start at the lowest point and work toward higher areas
- Work systematically room by room instead of jumping around
- Wear protective rubber boots and waterproof gloves during all water removal
- Dump extracted water down drains, not into yards where it can seep back
- Never use regular household vacuums in standing water or on wet surfaces
- Move all salvageable stuff to completely dry areas immediately
Once standing water’s gone, the drying process needs strategic airflow and humidity control. Open windows on opposite sides of your apartment to create cross ventilation that pushes moisture laden air outside (if weather permits and outside humidity’s lower than inside). Position box fans or floor fans in doorways and near wet areas to keep air moving constantly. Stagnant air slows drying dramatically. Run dehumidifiers around the clock, emptying collection tanks regularly or hooking up continuous drain options. Pull up wet carpets and padding as soon as possible. These materials trap moisture against flooring and rarely dry properly even with fans. Remove wet baseboards if you can do it without causing more damage. This lets air circulate behind walls where moisture often hides.
| Material Type | Drying Time | Professional Equipment Needed? | Salvageable? |
|---|---|---|---|
| Drywall (less than 2 inches wet) | 3-5 days | Sometimes (fans may work) | Usually yes |
| Hardwood flooring | 7-14 days | Yes (specialized drying mats) | Depends on saturation |
| Carpet and padding | 3-5 days if caught early | Yes (extraction and air movers) | Padding rarely, carpet sometimes |
| Laminate flooring | Not applicable | Not effective | No, swells and warps |
| Upholstered furniture | 5-7 days | Recommended | Depends on contamination |
| Concrete floors | Several weeks | Yes (dehumidifiers essential) | Yes (structure not damaged) |
Moisture detection stays critical even after visible water disappears. Water hides in wall cavities, beneath flooring, inside cabinets, and within insulation where you can’t see it. Moisture meters measure exact water content in materials and help identify problem areas that still need drying. Professional companies use infrared cameras to spot temperature differences that show moisture behind walls. Check areas that feel damp or cool to the touch, look for condensation forming on windows or walls, and pay attention to musty odors that signal ongoing moisture problems.
Complete drying typically takes several days to several weeks depending on how bad the saturation was, what materials got affected, and what equipment’s available. Minor flooding with quick water removal might dry in 3 to 5 days with good fans and dehumidifiers. Moderate flooding that penetrated walls usually needs 7 to 14 days of professional drying. Extensive flooding that soaked subflooring, filled wall cavities, or hit multiple rooms can take 2 to 4 weeks before materials reach safe moisture levels for reconstruction. Rushing reconstruction before materials fully dry leads to trapped moisture, mold growth inside walls, and structural problems that cost way more to fix later.
Documenting Flood Damage for Insurance and Landlord
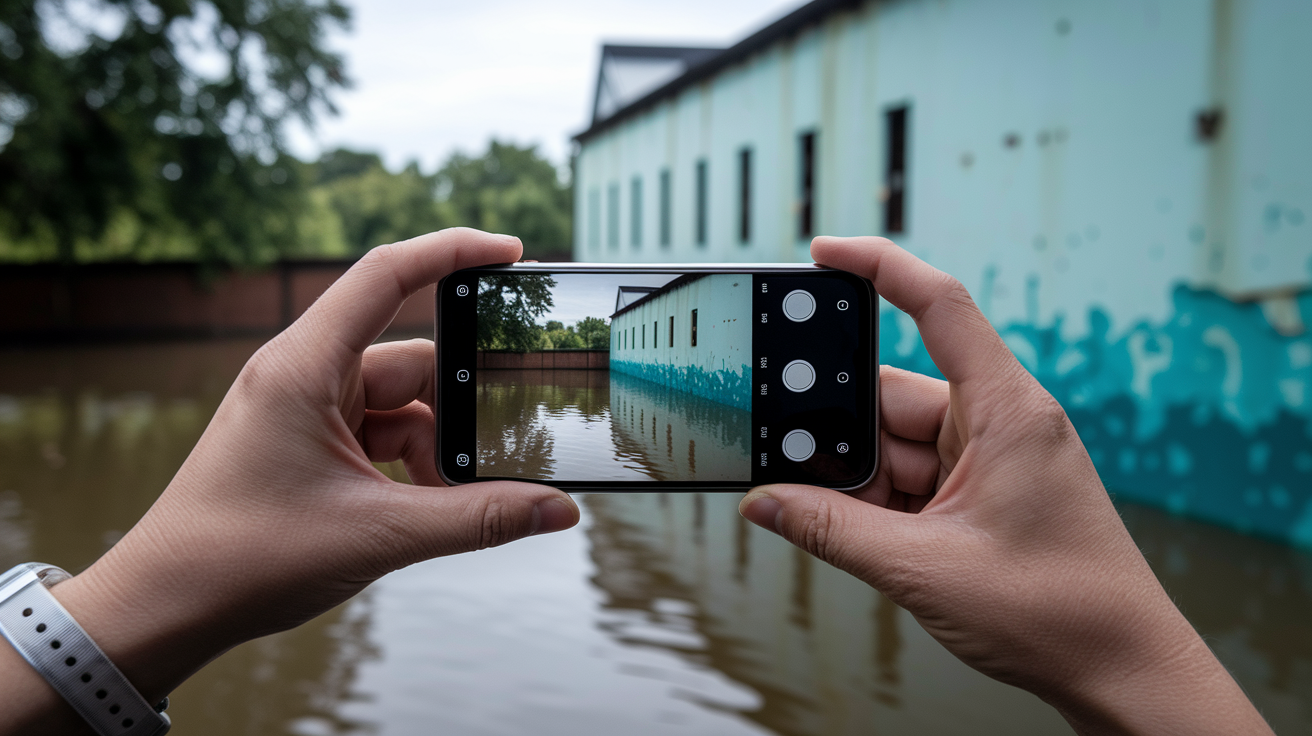
Documentation should happen as soon as you’re safe and the water’s stopped, but before you start cleanup that might remove evidence of how bad the damage was. Take initial photos while standing water’s still there if it’s safe to do so, keep documenting as you remove water and discover more damage, and photograph throughout the entire process to create a timeline.
Photograph everything the flood affected, capturing both big picture and small details. Take photos of ceiling stains and discoloration that show how far water spread overhead. Document wall damage including waterlines, bubbling paint, and swollen drywall. Photograph floor damage like warped hardwood, lifted laminate, or soaked carpet with visible water marks. Capture active leaks while they’re happening if you can, showing exactly where water entered your apartment. Photograph damaged belongings from multiple angles, including close ups that show water damage, warping, or contamination. Document damaged utilities like soaked electrical outlets, wet HVAC vents, or water damaged appliances. Include wide angle room shots that show the overall extent of flooding across entire spaces. Make sure your phone’s timestamp feature is enabled so every photo shows the exact date and time the damage existed. This proof of timeline matters for insurance claims and landlord disputes.
Create detailed written documentation alongside your photos to build a complete damage record. Write down the exact date and time when you first discovered flooding and when it stopped. Note current or recent weather conditions if the flood might relate to storms or freezing. Describe each damaged item in detail. Brand, model, age, purchase price if you remember, and current condition. Estimate replacement values for significant items based on current retail prices. Save this written documentation in multiple places including cloud storage, email to yourself, and printed copies.
Documentation best practices:
- Use timestamp features on your phone camera so every photo proves when damage happened
- Capture both wide angle room shots that show overall damage scope and close ups that show specific item damage
- Record video walkthroughs while narrating what you’re seeing, pointing out damage, and describing the flooding’s impact
- Save all texts, emails, and written correspondence with your landlord and insurance company in a dedicated folder
- Create backup copies of all documentation in cloud storage like Google Drive or Dropbox so you don’t lose evidence if your phone gets damaged
Organize your documentation carefully before submitting insurance claims or sending it to your landlord. Create folders labeled by date, room, or damage category. Keep photos of similar items together. Include your written inventory with estimated values alongside relevant photos. This organization makes claims processing faster and shows insurance adjusters you’re serious and thorough. Remember to photograph items before you throw them out. Even ruined stuff that can’t be saved needs documentation for your insurance claim, and tossing things before photographing them eliminates your proof of loss.
Filing a Renters Insurance Claim for Flood Damage
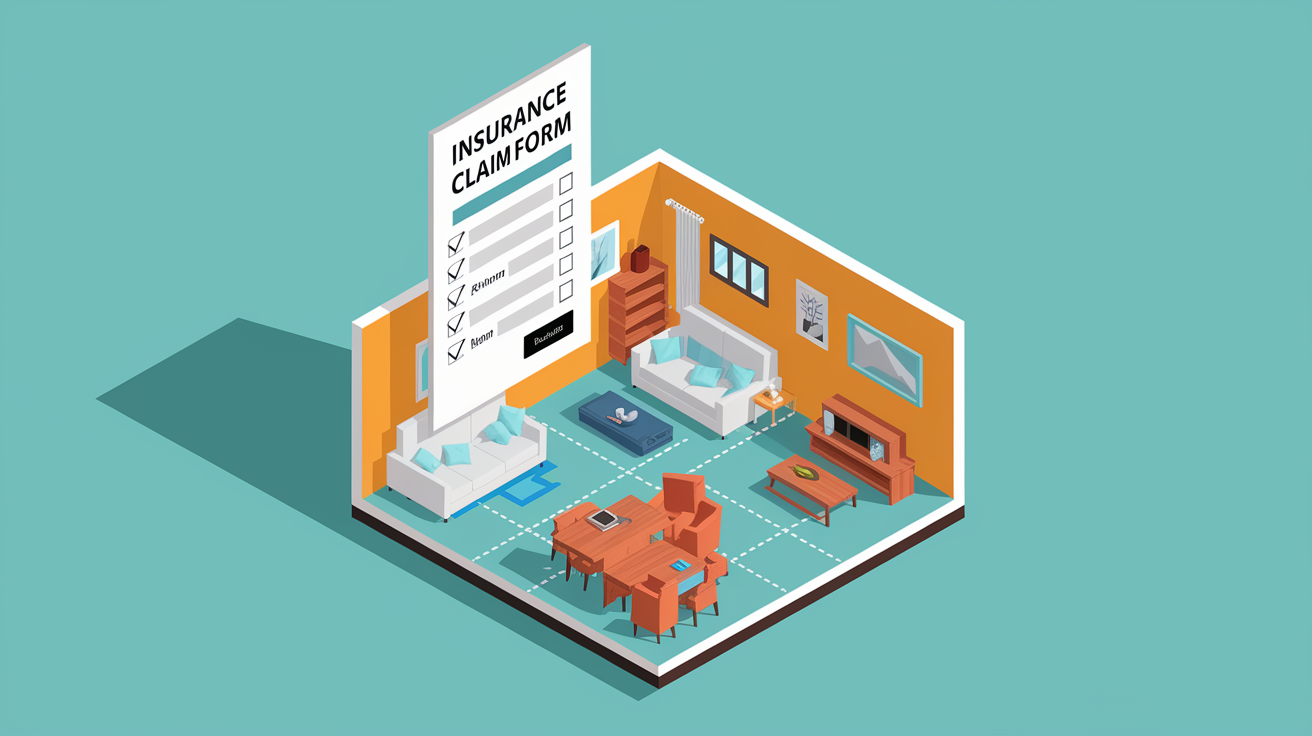
Your landlord’s insurance covers the building structure including walls, ceilings, floors, plumbing systems, and built in fixtures. Your renters insurance covers your personal belongings like furniture, electronics, clothing, and food, plus additional living expenses if flooding makes your apartment temporarily uninhabitable. Understanding this division prevents confusion about which insurance company handles what damage.
Renters insurance typically covers furniture damaged by water including sofas, beds, dressers, and tables. Electronics that got wet including TVs, computers, game systems, and appliances fall under your policy. Clothing, shoes, and accessories damaged by flooding are covered. Temporary housing costs including hotels or short term rentals if your apartment becomes uninhabitable qualify for additional living expense coverage. Food spoilage from power outages or refrigerator damage during flooding gets reimbursed. Medical expenses if you’re injured during the flooding emergency may be covered depending on your policy.
Steps for filing a renters insurance claim:
- Contact your insurance company within 24 to 48 hours of the flooding, using their emergency claims number for fastest response
- Provide your complete documentation package including all photos, videos, and written damage descriptions
- Schedule an adjuster visit to inspect damage in person, making yourself available quickly to prevent claim delays
- Create a detailed contents inventory listing every damaged item with descriptions, purchase dates, and estimated values
- Understand your deductible amount and coverage limits by reviewing your policy declarations page before filing
- Keep all receipts for temporary expenses like hotels, restaurant meals, and emergency purchases to submit for reimbursement
| Item Type | Typically Covered | Documentation Needed |
|---|---|---|
| Electronics (TV, computer, phone) | Yes, if caused by covered peril | Photos, receipts, model/serial numbers, proof of damage |
| Furniture (couch, bed, dresser) | Yes, if damaged by covered water source | Photos showing damage, purchase receipts if available, replacement estimates |
| Clothing and personal items | Yes, up to policy limits | Photos, detailed inventory list, estimated replacement costs |
| Food spoilage | Yes, usually $200-500 limit | Photos of spoiled food, receipts showing recent purchase if possible |
| Temporary housing (hotel, rental) | Yes, if apartment uninhabitable | Hotel receipts, rental agreements, meal receipts, documentation of uninhabitable conditions |
Coverage exclusions matter when filing claims. Most standard renters insurance excludes flooding from natural disasters like hurricanes or river overflow. That requires separate flood insurance through the National Flood Insurance Program. Gradual leaks or maintenance related water damage that happened over time may be excluded if the policy considers it preventable. Damage from your own negligence, like leaving a faucet running or ignoring a known leak, might not be covered. Understanding actual cash value versus replacement cost policies affects your payout significantly. Actual cash value policies subtract depreciation from payouts, meaning you get less money for older items. Replacement cost policies pay the current cost to replace items with new equivalents, providing better coverage but usually costing more in premiums.
Cleaning, Sanitizing, and Mold Prevention
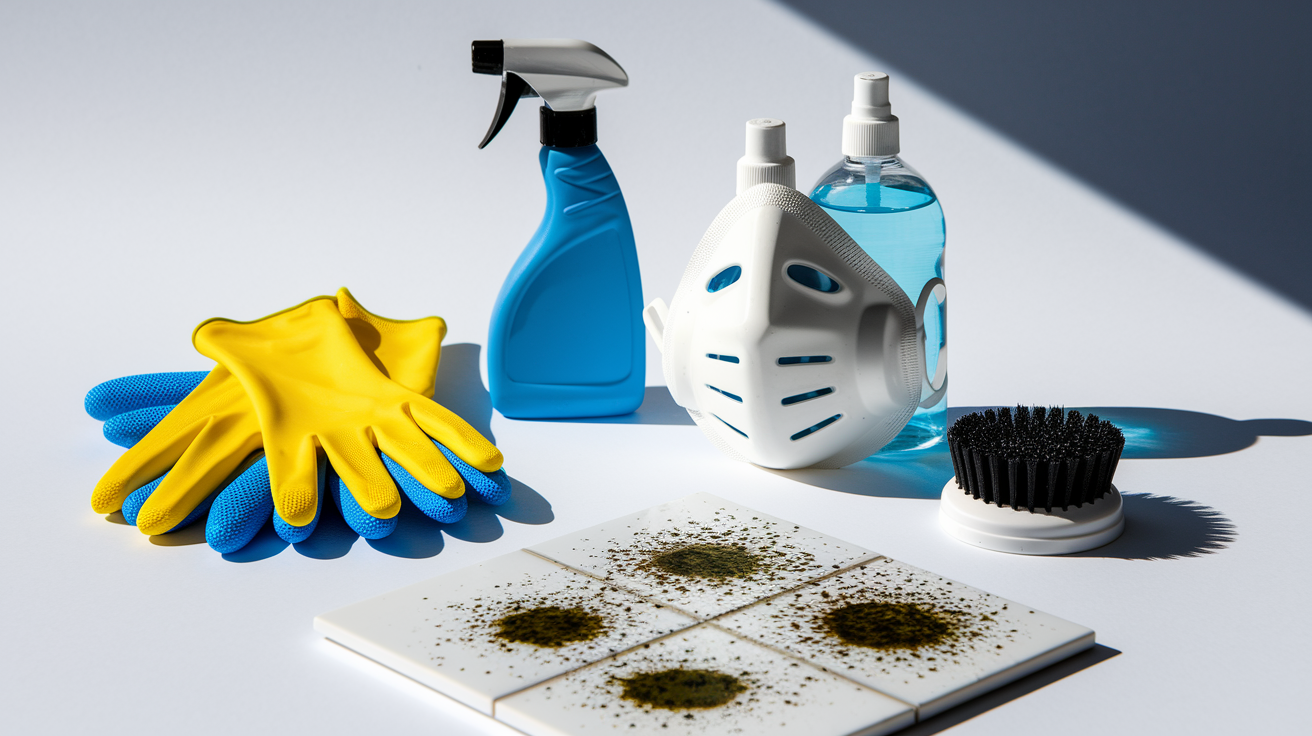
Sanitization and mold prevention protect your health after flooding because floodwater frequently contains sewage from backed up drains, bacteria from outdoor contamination, chemicals from cleaning products or stored substances, and physical contaminants like dirt and debris. Mold spores exist everywhere and need only moisture and 24 to 48 hours to begin growing into visible colonies that create respiratory problems, allergic reactions, and long term health issues.
Wear proper protective equipment before touching any floodwater or wet materials. Waterproof rubber gloves protect your hands from contamination and chemicals. Waterproof boots keep your feet dry and safe from hidden sharp objects in murky water. N95 masks or respirators prevent you from inhaling mold spores, bacteria, and chemical fumes during cleaning. Long sleeved protective clothing or disposable coveralls prevent skin contact with contaminated water. Protect your eyes with safety glasses if you’re cleaning overhead areas where contaminated water might drip.
Proper sanitization steps:
- Remove all visible debris including dirt, leaves, trash, and damaged materials before cleaning surfaces
- Prepare bleach solution correctly using 1 cup of household bleach per gallon of water in a clearly labeled bucket
- Wash all hard surfaces thoroughly with detergent and clean water first to remove dirt and grime
- Disinfect surfaces using your bleach solution, applying liberally and allowing 10 minutes of contact time before rinsing
- Rinse all surfaces with clean water after bleach treatment to remove chemical residue
- Apply antimicrobial treatment or mold prevention spray to high risk areas prone to moisture retention
Water contamination levels determine safe cleaning approaches. Category 1 water (clean water) comes from broken supply lines, sink overflows, or rainwater that hasn’t contacted contaminants. You can safely clean this yourself with standard protective gear. Category 2 water (gray water) comes from washing machines, dishwashers, toilet tanks, or sump pumps and contains chemicals, soaps, or mild contamination. Requires thorough disinfection and caution during DIY cleanup. Category 3 water (black water) involves sewage backup, flooding from rivers or storms, or water that sat stagnant for days breeding bacteria. Professional cleanup is necessary, and all porous materials contacted by black water must be thrown away immediately for safety.
Items and areas requiring thorough cleaning and sanitization:
- Walls and baseboards throughout all affected rooms, removing baseboards if possible to clean behind them
- Floors and accessible subflooring, cleaning thoroughly and checking for remaining moisture
- Cabinets and countertops in kitchens and bathrooms, including interiors where water may have seeped
- Any salvageable belongings that contacted floodwater, including hard furniture, appliances, and sealed containers
- HVAC systems if water entered ducts or air handlers, requiring professional duct cleaning to prevent mold spread
The critical 24 to 48 hour window before mold begins growing determines your success in prevention. Keep air circulating continuously using fans positioned to move air across all wet surfaces and out windows. Keep indoor humidity below 50% using dehumidifiers that run constantly, emptying reservoirs frequently or connecting to continuous drainage. Remove and discard wet porous materials promptly including drywall that wicked water more than 12 inches high, soaked insulation, wet carpet padding, and particle board furniture that absorbed water. Clean all hard surfaces with antimicrobial solutions even if they look clean, since invisible mold spores settle everywhere during flooding. Monitor for musty odors that indicate hidden moisture in wall cavities, under flooring, or inside cabinets. Inspect hidden areas regularly by checking behind furniture, inside closets, under sinks, and in corners where air circulation is poor.
Identify early mold signs before colonies spread extensively. Visible discoloration appears as green, black, white, or gray spots on walls, ceilings, or floors. Peeling or bubbling paint indicates moisture trapped behind surfaces where mold often grows. Warped surfaces on walls or ceilings suggest ongoing moisture problems feeding mold. Persistent musty smell remains even after cleaning and indicates active mold growth somewhere, possibly hidden. Surface mold on hard non porous materials like tile, glass, or metal can be cleaned using bleach solution (1 cup bleach per gallon water), scrubbing thoroughly and allowing proper contact time. Extensive growth covering more than 10 square feet, mold in porous materials like drywall or insulation, or mold inside HVAC systems requires professional remediation. These situations spread spores too extensively for safe DIY removal.
Health risks from mold exposure include respiratory problems like coughing, wheezing, and difficulty breathing. Allergic reactions cause sneezing, runny nose, red eyes, and skin rashes in sensitive individuals. Asthma attacks can be triggered or worsened by mold spore inhalation. Toxic exposure from black mold (Stachybotrys chartarum) produces severe symptoms including chronic fatigue, headaches, and in extreme cases, neurological effects.
Your landlord holds responsibility for mold remediation under habitability laws when flooding came from building defects, maintenance failures, or structural issues. Tenant rights let you demand professional mold removal instead of accepting DIY cleanup for extensive growth. Seek medical attention if you experience persistent respiratory symptoms, severe allergic reactions, chronic headaches after flooding, or any symptoms that worsen when you’re inside the apartment and improve when you leave.
Salvaging Belongings from Water Damage
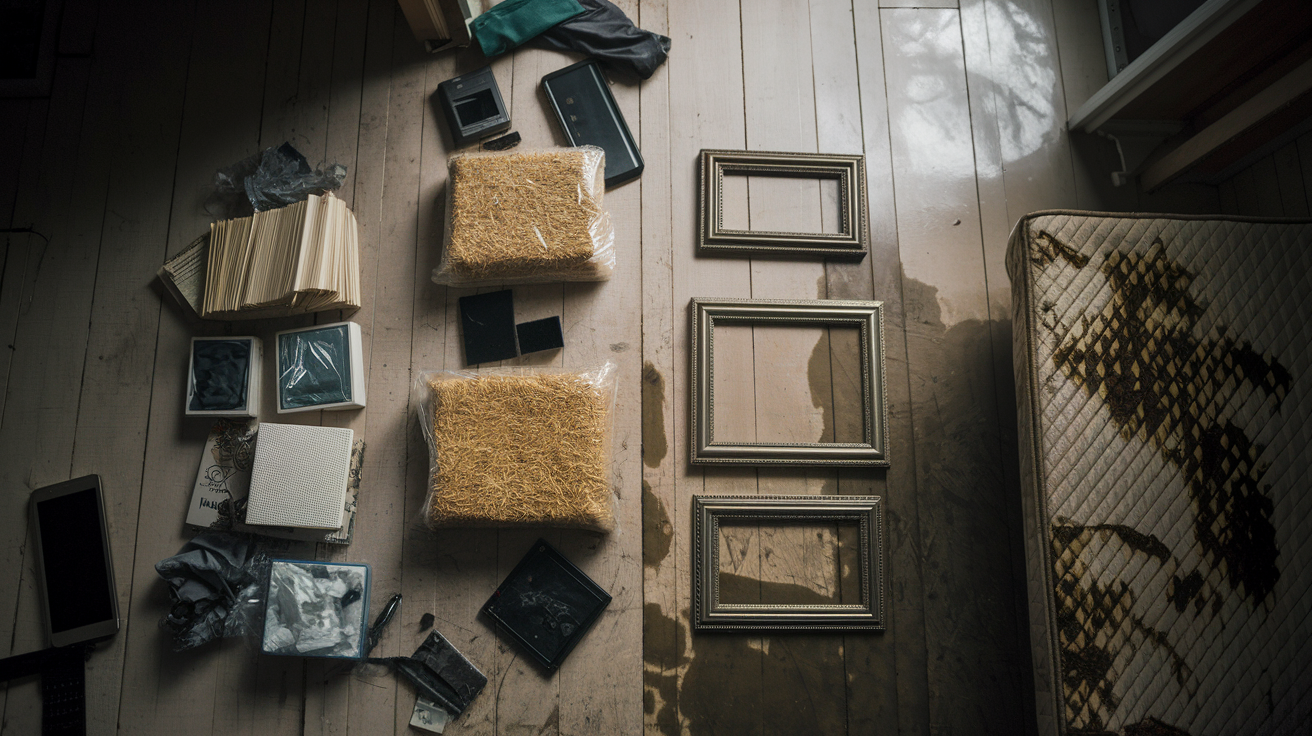
Act fast with wet belongings because every hour items stay saturated decreases salvage chances. Porous materials like fabric, wood, and paper absorb water quickly and begin deteriorating, warping, or growing mold within the first 24 to 48 hours.
Items that can typically be saved include furniture with hard surfaces like solid wood tables, dressers, and chairs if dried quickly. Metal items such as tools, decorations, and file cabinets clean up well after drying and rust removal. Some electronics might survive if they weren’t powered on when wet, were dried completely before any power attempts, and weren’t submerged for extended periods. But success rates are low and safety risks high. Washable fabrics including most clothing, sheets, and towels can be laundered in hot water with detergent and bleach. Hard plastic items, sealed storage containers, and dishes clean easily with sanitizing solution.
Items that usually must be discarded can’t be adequately cleaned, dried, or salvaged safely. Mattresses and box springs absorb massive amounts of water, rarely dry completely, and become mold factories within days. Upholstered furniture including sofas, armchairs, and cushioned dining chairs trap water in foam and fabric layers that never fully dry. Particleboard furniture swells dramatically when wet and crumbles as it dries, losing all structural integrity. Carpets and padding become contaminated by bacteria and mold, especially if exposed to gray water or black water. Paper products including books, documents, and cardboard boxes dissolve or become permanently damaged. Electronics that were powered on during flooding or sat in water for hours typically suffer irreversible damage.
| Item Category | Salvage Potential | Action Required |
|---|---|---|
| Electronics | Low (10-30% success) | Do not power on, dry completely for 5-7 days, professional assessment recommended |
| Solid wood furniture | High if dried quickly | Wipe dry, position fans for airflow, sand and refinish if warping occurs |
| Important documents | Possible with care | Freeze immediately or air dry flat, consider professional document restoration for irreplaceable items |
| Clothing and washable fabrics | High | Wash in hot water with detergent, add bleach if safe for fabric, dry completely before storage |
| Non-perishable food (sealed cans) | High if undamaged | Remove labels, sanitize exteriors with bleach solution, discard if dented or swollen |
| Photos and sentimental items | Moderate with quick action | Rinse gently with clean water, air dry or freeze, consider professional photo restoration services |
Salvage priorities when time and resources are limited:
- Move items to dry areas immediately, prioritizing irreplaceable sentimental items and high value belongings
- Separate salvageable items from clearly unsalvageable items to focus effort appropriately
- Document everything before discarding to support insurance claims with photos showing damage severity
- Clean and dry salvageable items within 24 to 48 hours to prevent mold growth and permanent damage
Professional content restoration services exist for high value items like antique furniture, important documents, electronics, artwork, or sentimental belongings worth the investment. These specialists use freeze drying for documents and photos, specialized cleaning for electronics, dehumidification chambers for furniture, and antimicrobial treatments for fabrics. Costs can be significant, but for irreplaceable family photos or valuable antiques, professional restoration often succeeds where DIY attempts fail.
Understanding Liability When Your Apartment Floods

Liability determination depends on identifying the flood’s cause and source, which dictates which insurance policy covers damages and who pays for repairs, replacement, and restoration.
Landlords carry liability when flooding results from building defects they failed to maintain. Burst pipes in shared plumbing systems or supply lines that service multiple units fall under landlord responsibility because tenants can’t maintain or access those systems. Roof leaks from missing shingles, damaged flashing, or clogged gutters represent landlord maintenance failures. Sewer backups caused by building drain problems or septic system issues become landlord liability. Failed building appliances like shared water heaters or HVAC systems are landlord owned and their malfunctions create landlord liability. Negligent maintenance where landlords ignored reported problems, skipped required inspections, or deferred necessary repairs establishes clear liability, especially if tenants documented prior complaints.
Liability scenarios by flood source:
- Burst pipe within your apartment walls may be landlord liability if the pipe was old, defective, or failed due to poor building maintenance
- Burst pipe in your upstairs neighbor’s unit creates liability for the neighbor if negligence caused it, or HOA/landlord if building plumbing failed
- Building plumbing failure in shared pipes, main lines, or risers serving multiple units establishes landlord or HOA liability
- Natural disaster flooding from storms typically falls under your renters insurance, not landlord liability, unless building defects worsened the flooding
- Appliance malfunction within your unit that you own (your washing machine) generally becomes your responsibility unless defective building plumbing contributed
| Flood Source | Typically Liable | Insurance to File With |
|---|---|---|
| Your apartment’s burst pipe | Landlord (building structure) | Your renters insurance for belongings, landlord files for structure |
| Neighbor’s burst pipe | Neighbor (if negligence) or landlord (if building defect) | Your renters insurance first, then subrogation to recover from at-fault party |
| Shared building plumbing | Landlord or HOA | Landlord’s/HOA’s master policy for structure, your renters insurance for belongings |
| Severe storm or natural disaster | No one (act of nature) | Flood insurance if you have it, otherwise renters insurance may not cover |
| Your appliance (washing machine) | You (tenant) | Your renters insurance or out-of-pocket if you accept liability |
| Roof leak from poor maintenance | Landlord | Landlord’s insurance for structure, your renters insurance for belongings |
Neighbor liability applies when an upstairs or adjacent resident causes flooding through negligence or recklessness. Overflowing bathtubs left unattended, burst washing machine hoses not replaced despite age, toilet overflows ignored while the resident was home, or broken pipes the neighbor knew about but didn’t report all create potential neighbor liability. When upstairs flooding damages your apartment, best practice involves filing with your own renters insurance company first for fastest claim processing and immediate coverage for your belongings. Your insurance company then pursues the at fault neighbor’s renters or homeowners insurance through subrogation to recover the money they paid you. This process protects you from delays while insurance companies argue about fault. Your upstairs neighbor’s homeowner’s or renters insurance includes liability coverage that may pay for damages their negligence caused to other units, but getting that coverage requires either your insurance company pursuing them or you filing a direct claim with supporting evidence of negligence.
Tenant rights protect you when landlords wrongly deny liability or insurance companies dispute coverage. Document everything from the start including photos, written notices to landlords, copies of lease agreements showing maintenance responsibilities, and records of any prior complaints about building conditions. Know your state’s landlord tenant laws regarding habitability, repair timelines, and liability for building defects. Seek legal consultation when landlords refuse responsibility for clear building failures, when your insurance denies legitimate claims, when disputes involve significant money or health hazards, or when you’re being pressured to accept inadequate settlements.
Hiring Professional Water Damage Restoration Services
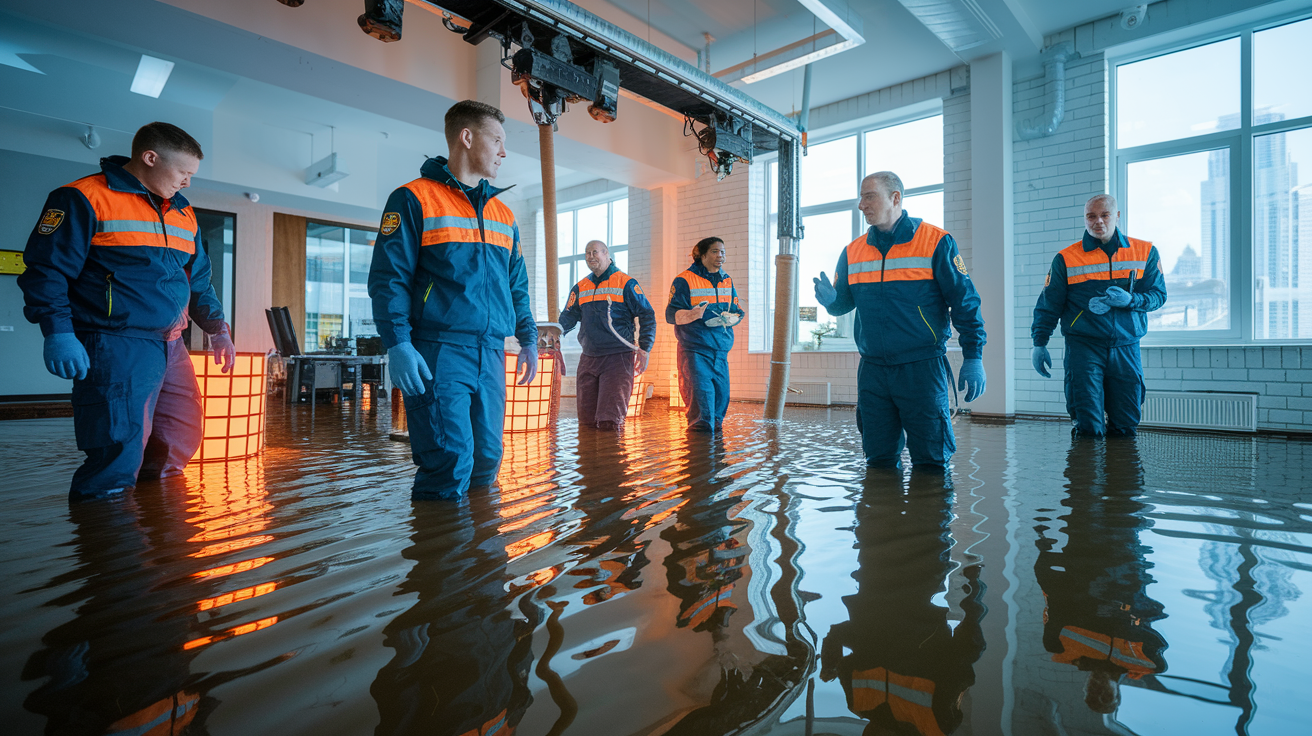
Professional restoration becomes necessary when flooding is extensive and covers multiple rooms or entire apartments. Water penetration into walls extends more than 12 inches up drywall or soaked insulation inside wall cavities. Potential structural damage appears as sagging ceilings, warped floors, or cracked walls from water weight. Contaminated water involved sewage backup, outdoor flooding, or standing water that sat for more than 48 hours breeding bacteria.
Professional restoration companies offer comprehensive services beyond what DIY methods can achieve. Emergency response teams arrive 24/7 within hours of your call to prevent damage from worsening. Industrial water extraction uses truck mounted systems pulling thousands of gallons quickly. Structural drying employs specialized equipment positioned strategically based on moisture readings and airflow science. Moisture detection uses infrared cameras and meters to find hidden water you can’t see. Mold prevention includes antimicrobial treatments applied to all affected surfaces. Reconstruction services repair drywall, replace flooring, repaint, and restore your apartment to pre flood condition.
Criteria for selecting qualified restoration companies:
- Verify licensing and insurance by checking state contractor databases and requesting proof of liability coverage
- Check for IICRC certification (Institute of Inspection Cleaning and Restoration Certification) showing professional training
- Confirm 24/7 availability with emergency response guarantees and ask about typical arrival times
- Request references from recent customers
Final Words
When you’re staring at a flooded apartment, every minute counts.
The steps are clear: get everyone safe first, stop the water if you can, document everything with photos, and contact your landlord right away.
Your safety comes before saving stuff. Turn off the power at the breaker if it’s safe to reach, but never step into standing water near electrical outlets.
Getting help fast (whether it’s your insurance company, building management, or a restoration crew) makes the difference between a quick recovery and weeks of chaos.
Know what to do in a flooded apartment, act fast, and you’ll get back to normal sooner than you think.
FAQ
How long does it take for mold to grow after flooding?
Mold can begin growing within 24 to 48 hours after apartment flooding occurs. This short window makes immediate water removal and thorough drying your top priority. Start fans and dehumidifiers right away, pull up wet carpet, and open windows for airflow to stop mold before it starts.
Who is responsible for apartment flooding?
Responsibility for apartment flooding depends on what caused the water. Your landlord handles structural issues like burst pipes in shared plumbing, roof leaks, and building defects. You’re responsible for floods from your own appliances or bathtub overflows. An upstairs neighbor’s insurance covers damage they caused through negligence.
Will insurance pay out for water damage?
Insurance typically pays for water damage depending on the cause and your policy type. Renters insurance covers your personal belongings damaged by sudden events like burst pipes or appliance failures. Your landlord’s insurance handles building repairs. Document everything with timestamped photos before cleanup to support your claim.
Does renters insurance cover floods?
Standard renters insurance does not cover natural flood events like storm surge or river overflow. It does cover sudden water damage from burst pipes, appliance leaks, or upstairs neighbor incidents. If your apartment becomes uninhabitable, many policies pay temporary housing costs while repairs happen.