
You just walked back into your house after the flood. The walls are still damp, and you’re wondering if that crack in the ceiling is serious or if the foundation is still solid. Here’s the truth: you can’t fix what you can’t see, and structural damage hides in places most people never think to check. This guide walks you through a safe, step-by-step process to assess flood damage to your home’s bones, so you know what needs a pro and what you can handle yourself.
Critical Safety Hazards Before Entering Flood-Damaged Structures
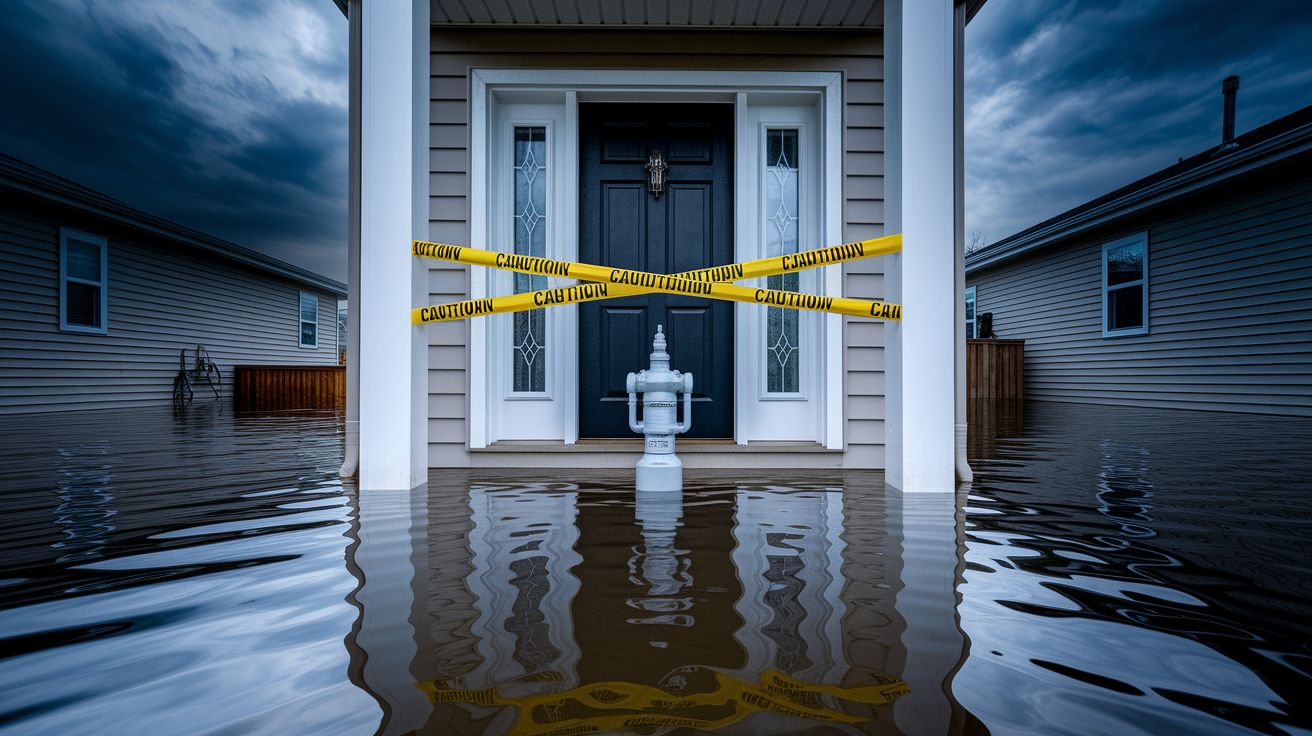
Don’t go inside a flood-damaged building until local authorities say it’s safe and standing water is gone. Before you even step through the door, shut off the main electrical breaker. Standing water plus electricity equals lethal shock risk.
If you smell gas or hear hissing, turn off the gas at the meter if you can do it safely, then get out fast and call the gas company from a safe spot. Carbon monoxide is another killer. Never run generators, pressure washers, or anything that burns fuel indoors or in attached garages. Not even with the doors open.
You need this gear before you go in:
- Rubber boots that cover your ankles
- Waterproof gloves rated for chemical resistance
- N95 mask or respirator (blocks mold spores and nasty stuff in the air)
- Battery-powered flashlight (never use flame lighting)
- Safety glasses or goggles
- Hard hat if you see ceiling damage
- First aid kit kept outside the building
Floors, stairs, and ceilings might collapse without warning. Water destroys structural integrity fast. Walk carefully and test each step before you commit your weight. Floodwater is contaminated with sewage, chemicals, fuel, and debris. Don’t drink it. Avoid skin contact when you can. Watch for snakes, rodents, and insects that climbed up looking for dry ground, same as you. If ceilings sag or you hear cracking sounds, get out immediately.
Timeline and Priority Sequence for Structural Assessment

Damage accelerates fast after flooding. Foundation cracks can show up within 48 hours as soaked soil shifts and settles. Mold starts growing in wall cavities and under floors within 24 to 48 hours of water exposure. Earlier assessment means better outcomes and way lower repair costs.
Focus on structural problems over cosmetic ones. There’s no point repainting walls if the foundation is compromised and those walls will crack again in three months.
| Time Period | Inspection Priority | Key Actions |
|---|---|---|
| First 24 hours | Safety and access | Wait for clearance, shut off utilities, remove immediate hazards |
| Days 1 to 3 | Structural assessment | Foundation inspection, major beam checks, ceiling stability evaluation |
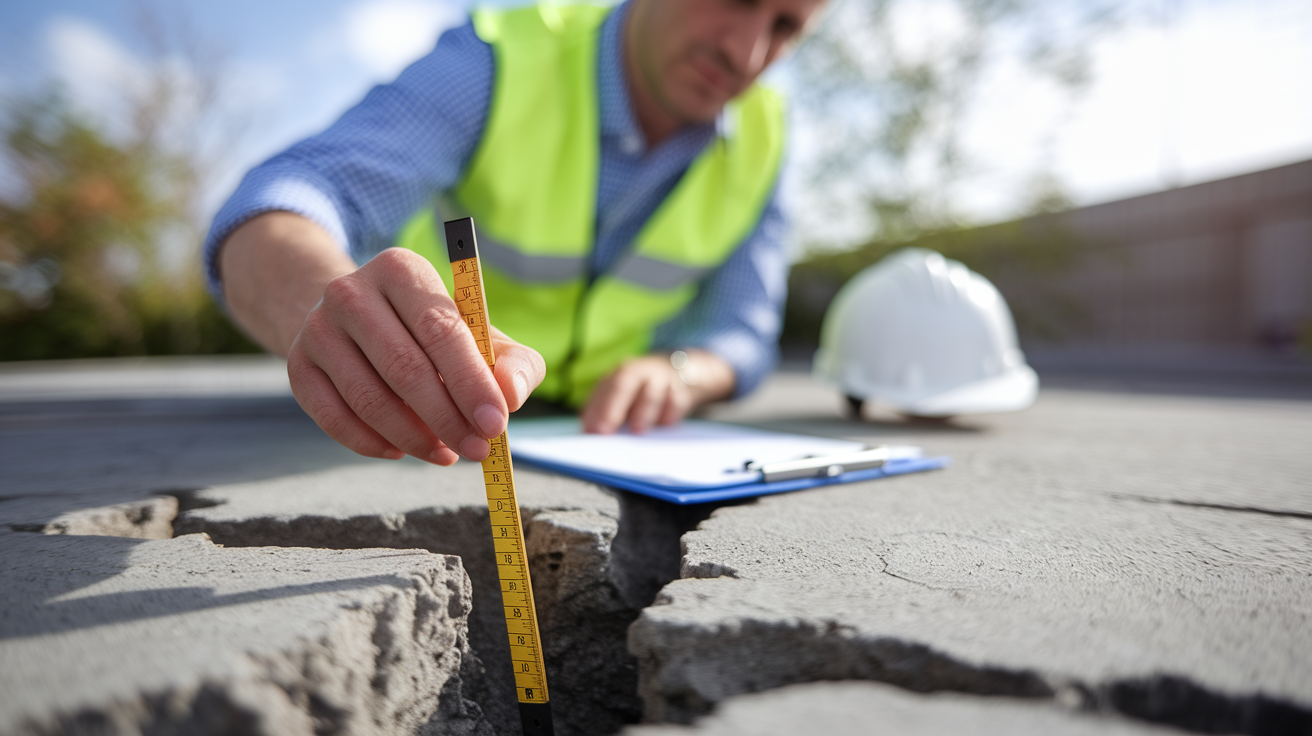
| Days 3 to 7 | Detailed documentation | Photograph all damage, measure crack widths, map affected areas |
| Week 2 | Professional evaluation | Structural engineer assessment, moisture testing, repair specifications |
| Ongoing | Monitoring during drying | Re-inspect as materials dry, watch for new cracks, check moisture levels |
Do your assessment before major cleanup starts so you can document conditions for insurance. The drying process continues while you inspect. In fact, you need it to. Some damage only shows up as materials dry and contract. Wood that looks fine while wet can reveal cracks and rot as it dries out. Re-inspect after the first week of drying. You’ll often find issues that weren’t visible during your first walk-through.
Post-Flood Structural Assessment: Step-by-Step Inspection Process

A systematic approach keeps you from missing critical damage while you’re distracted by obvious problems. Only do this after authorities give clearance and standing water has dropped enough that you can move through the building safely.
Work from outside to inside, bottom to top. Foundation problems affect everything above them, so find those first.
Document everything with photos and detailed written notes. Record crack widths, locations of water stains, and severity of each issue. Insurance claims depend on this documentation. Your memory will fade faster than you think.
Complete inspection sequence:
- Walk the exterior and photograph the foundation from all sides
- Look at the foundation for new cracks wider than 1/4 inch, horizontal cracks along mortar lines, stair-step cracks in block or brick, and visible displacement or shifting
- Enter the basement or crawl space and check for bowing walls, displaced support piers, and sagging beams
- Test floor stability by walking across all rooms and noting soft spots, bounce, or sagging
- Check walls for cracks, press gently to find soft or spongy areas, look for bulging
- Inspect ceilings for sagging, bulging, staining, and texture changes (don’t touch sagging areas)
- Test all doors and windows for alignment issues, sticking, or gaps that weren’t there before
- Look at visible support beams in basement and attic for cracks, sagging, or separation from supports
- Check the roof and attic for rafter damage, sheathing problems, and soaked insulation
- Note the condition of utility connections, looking for shifted or damaged pipes, wires, and HVAC components
Foundation cracks wider than 1/4 inch need immediate professional evaluation. These mean serious structural movement. Sagging or bulging ceilings are danger signals. Evacuate that area and call a professional before you go back in. Horizontal cracks in foundation walls and visibly compromised support beams need a structural engineer’s assessment.
Minor stuff like hairline cracks, surface staining, and cosmetic damage can wait for the full professional assessment. But document them now while you’re looking.
Wall Integrity and Load-Bearing Structure Inspection

Load-bearing walls support the weight of the structure above them. Damage to these is way more serious than damage to simple partition walls. Load-bearing walls usually run perpendicular to floor joists, down the center length of the house, or form the exterior walls.
If you’re not sure which walls carry weight, assume they do until a pro tells you otherwise.
Start with crack patterns. Vertical cracks are usually less serious. They often come from normal settling or drywall seam separation. Horizontal cracks are concerning because they show outward pressure from saturated soil pushing against foundation walls. Diagonal cracks suggest differential settling where one part of the foundation is sinking faster than another.
Look for bulging or bowing. Sight down the length of a wall. It should be flat, not curved. Press gently on drywall in several spots. Soft or spongy areas mean water-saturated material behind the surface. Water wicks upward through drywall 12 to 24 inches above the visible waterline through capillary action, so check well above the flood level. Watch for peeling paint, warped baseboards, and yellowish-brown staining that shows where water traveled.
Hidden damage needs different techniques. Tap on walls and listen. A solid sound means intact drywall. A hollow or muffled thud suggests delamination or void spaces behind the surface. Musty odors mean mold growth in wall cavities. Check corners and edges where walls meet ceilings or floors. Staining shows up there first.
Use a flashlight at a low angle across the wall surface. This highlights subtle bulges or depressions you can’t see under direct overhead light.
| Damage Type | Severity Level | Action Required |
|---|---|---|
| Hairline cracks (less than 1/16 inch) | Minor | Monitor for expansion, repair after drying complete |
| Cracks wider than 1/4 inch | Moderate to serious | Professional evaluation needed |
| Horizontal cracks in foundation walls | Serious | Immediate structural engineer assessment |
| Bulging or bowing walls | Critical | Evacuate area, call professional immediately |
| Soft, spongy drywall | Moderate | Remove affected drywall, check framing behind |
| Staining above flood line | Minor to moderate | Indicates wicking; check for hidden moisture, may need wall cavity drying |
Floor Stability and Subfloor Water Damage Assessment

Walk systematically across all floors. Check for soft spots, bounce, sagging, or unusual give when you step down. A solid floor feels firm and stable. Listen for creaking or cracking sounds that mean loosened connections between flooring and subfloor, or between subfloor and joists.
Pay attention to areas near exterior walls, around plumbing fixtures, and in rooms that held standing water longest.
Different flooring materials show water damage different ways. Hardwood cups when the edges curl higher than the center of each board. Crowning is when the center humps up higher than the edges. Buckling means boards have lifted entirely and separated from the subfloor.
Tile develops loose spots. Tap tiles with your knuckle and listen for a hollow sound. That means the adhesive failed. Cracked grout lines and displaced tiles are obvious. Carpet that stays damp days after surface water recedes means the pad and subfloor beneath are saturated. Discoloration and musty smells confirm water is trapped underneath.
Access the subfloor from the basement or crawl space if you can. Use a bright flashlight to inspect from below. Look for water staining on the underside of subfloor panels, sagging between joists that creates a wavy or dished appearance, and wood darkening that indicates rot.
Check joist connections where they rest on foundation walls or beams. Water can weaken these critical support points. If you can reach up and touch the subfloor, press gently. Soggy or soft areas need immediate attention and drying.
Ceiling Damage and Overhead Structural Concerns
Never touch or push on sagging ceilings. Water-saturated drywall and plaster can collapse suddenly, dropping heavy, wet material on anyone below. Stay away from areas directly beneath visible damage. Keep kids and pets out of those rooms.
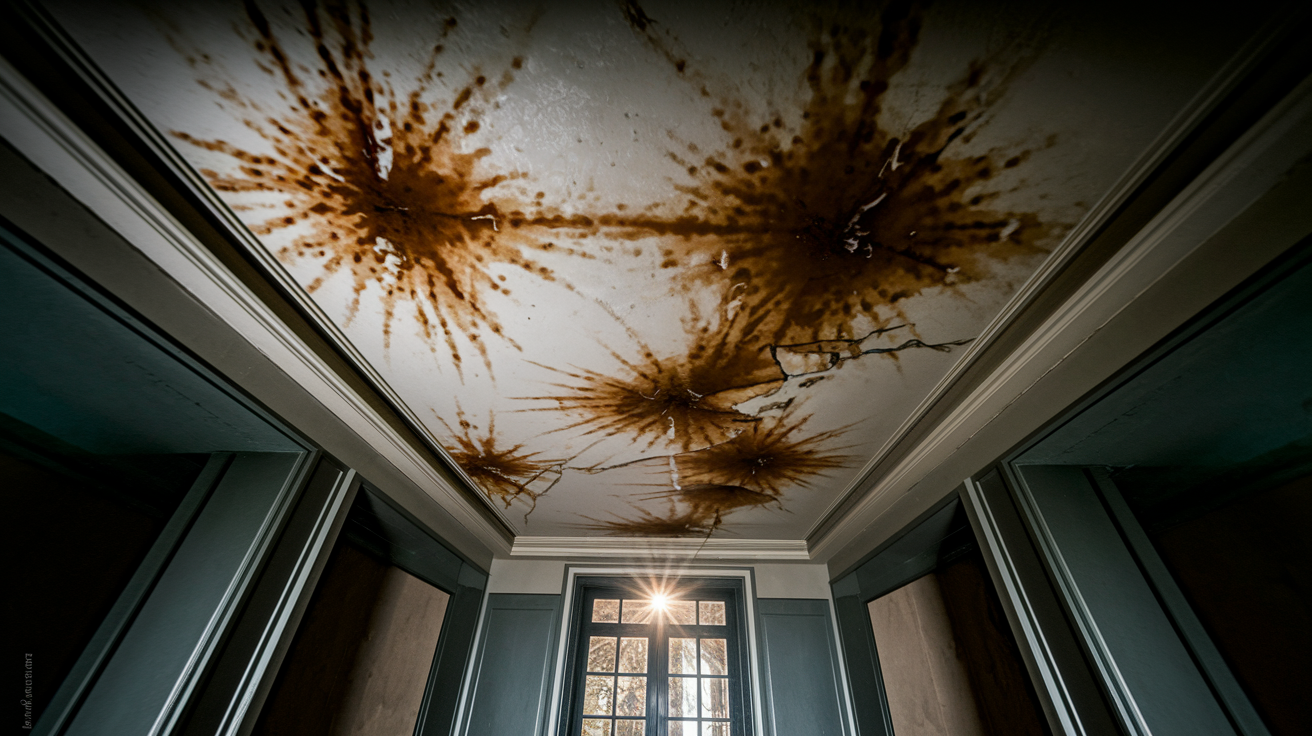
Visual inspection from below reveals critical warning signs. Sagging means the ceiling material is pulling away from the framing above. Usually because it absorbed water and became too heavy. Bulging indicates water pooling on top of the ceiling, trapped between the drywall and the floor or roof above. Brown water stains show where water soaked through. The stain size doesn’t always match the damage extent because water spreads along framing before it drips through.
Cracks radiating from light fixtures suggest movement or stress at that penetration point. Texture changes, like smooth spots on a textured ceiling, mean the finish coat is delaminating.
Attic inspection gives you a view from above. Check rafters for cracks, splits, or sagging. Inspect roof sheathing for soft spots, darkening, or separation from rafters. Saturated insulation is heavy and may have pulled away from attachment points. It also holds moisture against wood framing, speeding up rot.
Water doesn’t always show up directly below where it enters. It can travel along rafters, sheathing, or insulation before emerging somewhere else entirely.
Any sagging or bulging ceiling requires immediate professional attention. Don’t try to prop it up, drain it, or puncture it to release water. Evacuate the area below and contact a contractor or structural professional who can stabilize the situation safely.
Detecting Hidden Moisture and Concealed Structural Damage

Surface appearance lies. Walls and floors can look dry while harboring moisture deep in cavities, behind finishes, and beneath flooring. This hidden moisture causes ongoing structural deterioration as wood rots, metal corrodes, and materials weaken. Mold begins growing within 24 to 48 hours in hidden spaces where air doesn’t circulate. This creates health hazards you can’t see until the damage is severe.
Basic DIY detection methods have value but serious limitations. Check for musty odors. Trust your nose. If it smells like mildew, moisture is present. Look for discoloration patterns that don’t match the flood waterline. Feel for persistent humidity in rooms that should have dried by now. Watch for paint that keeps peeling even after you’ve dried the visible surfaces. Press on walls to find soft spots. Notice condensation on windows and mirrors that suggests high indoor humidity from evaporating hidden water.
Signs pointing to hidden moisture:
- Musty or earthy odors that stick around after cleaning
- Discoloration or staining above the visible flood line
- Rooms that feel humid or damp days after flooding
- Paint or wallpaper that continues peeling or bubbling
- Soft spots when pressing on walls or floors
- Condensation forming on windows, mirrors, or metal fixtures
Consumer-grade moisture meters from hardware stores give basic surface readings. But they miss moisture deep in wall cavities and beneath flooring layers. Professional equipment includes pin-type meters that penetrate surfaces to measure moisture at specific depths, and pinless meters that scan larger areas through surfaces without leaving holes.
Thermal imaging cameras detect temperature variations that reveal water damage behind walls. Wet areas show cooler because evaporation draws heat. Hygrometers measure air humidity to identify spaces where materials are releasing moisture.
Get professional assessment when you need comprehensive detection, insurance documentation, or are making decisions about major repairs. The cost of a pro inspection is minor compared to the cost of missing hidden damage that destroys materials you thought were fine.
When to Call a Structural Engineer or Professional Inspector
Some damage clearly exceeds what homeowners should assess on their own. The question isn’t about saving money on an inspection fee. It’s about preventing catastrophic failures that put lives at risk and create repair costs ten times higher than early intervention would have required.
Safety beats cost when you’re dealing with the structural integrity of the building.
Conditions requiring immediate professional evaluation:
- Foundation cracks wider than 1/4 inch or any crack that’s growing
- Sagging, bulging, or visibly compromised ceilings
- Support beams that show cracks, sagging, or separation from their bearing points
- Extensive floor sagging across multiple rooms or creating noticeable slopes
- Horizontal cracks in basement or foundation walls
- Any sign the building has shifted on its foundation (visible gaps, displacement, or tilting)
Benefits you get from professional assessment:
- Specialized moisture detection equipment that finds hidden water damage
- Code compliance verification so repairs meet building standards
- Repair specifications that contractors can bid accurately
- Documentation suitable for insurance claims and resale disclosure
- Comprehensive damage mapping that identifies problems you’d miss
Look for licensed structural engineers when foundation or framing damage is evident. They’re qualified to evaluate whether the building is safe to occupy and what repairs will restore stability. Certified home inspectors provide thorough assessments of overall building condition and can identify problems across all systems. Qualified contractors with flood restoration experience offer practical perspectives on repair feasibility and costs.
Verify credentials, insurance coverage, and ask specifically about their experience with flood-damaged structures. Get multiple assessments for major damage. Different pros may spot different issues. Make sure whoever you hire provides written reports with photos, measurements, and specific findings you can submit to insurance companies.
Exterior Siding, Soffits, and External Structural Elements
Exterior walls and components often get overlooked because everyone focuses on indoor damage. But floodwater hits outside surfaces first and with the most force.
Check siding for displacement where panels shifted or pulled away from the wall. Look for buckling where materials warped, gaps between panels that weren’t there before, and fastener failure where nails or screws pulled through. Brick and stone show mortar erosion. Look for crumbling joints and missing material. Loose or missing bricks and stones indicate serious wall movement.
Efflorescence is a white, powdery deposit that appears when water pulls salts out of masonry. It marks where water infiltrated. Check carefully where siding meets the foundation. This joint often fails during flooding, creating a path for water entry.
Roof edges take a beating during flood events, especially when wind comes with high water. Inspect fascia boards for water damage, sagging, rot, and detachment from rafter ends. Soffits can trap water and sag or pull away from the house. Verify gutters and downspouts remain securely mounted. Flood debris and rushing water can tear them loose.
Even if your area didn’t flood from rainfall, storm systems that cause flooding often bring high winds that damage roof shingles. Walk the perimeter and look up at roof edges for missing, lifted, or damaged shingles.
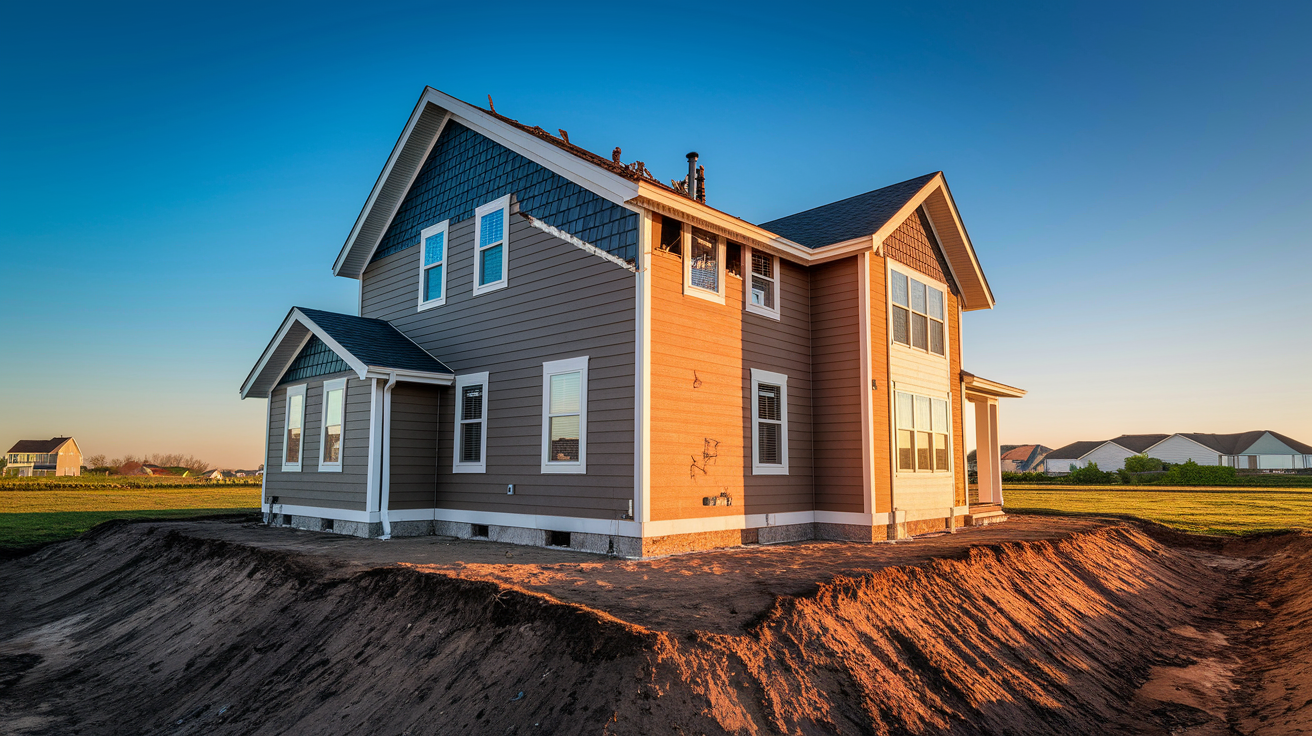
Ground-level inspection reveals problems that affect the foundation and structural support. Look for soil washout around the foundation where floodwater scoured material away. Exposed footings indicate serious erosion. Erosion channels show the path water took. If those channels now direct water toward your foundation during normal rains, you’ve got a permanent problem that needs correction.
Check for settled or displaced areas in the yard near the foundation. These can indicate underground void formation where soil washed away beneath the surface. Grading that changed during the flood may now slope toward the house instead of away from it, setting up future water infiltration.
Door and Window Frame Misalignment as Structural Indicators

Door and window frames attach directly to wall framing. When the structure shifts, frames distort. This gives you a simple test anyone can do without special equipment, and the results tell you whether the foundation or framing has moved.
Testing is straightforward. Open and close every door and window in the house. Note which ones stick, where they stick, and whether the problem is new. Look for gaps between the door and frame when closed. You should be able to run your fingers along the edges and feel whether the gap is uniform or varies.
Check if doors swing open or closed on their own when you leave them at a 45-degree angle. This means the floor isn’t level. Measure gaps with your fingers. A gap that fits one finger at the top but three fingers at the bottom shows frame distortion.
New sticking points or gaps that weren’t there before flooding indicate movement. Minor issues may be cosmetic or temporary. Wood doors and frames swell when they absorb moisture and may return to normal after drying.
But sudden changes in multiple doors or windows across different areas of the house suggest foundation or framing problems underneath. A door that stuck at the top before flooding but now sticks at the bottom has moved, and something structural caused that movement.
Combine door and window alignment checks with your other inspection findings. One sticky door might mean nothing. Five doors that suddenly don’t fit their frames correctly, plus cracks in the walls and uneven floors, point to serious structural shifting that needs professional evaluation.
Long-Term Monitoring and Preventing Future Structural Damage
Structural repairs don’t guarantee long-term stability. Materials continue shifting and settling for months after a flood as they fully dry and adjust to new conditions. Some damage effects don’t appear until six months or a year after the event.
Post-repair monitoring catches problems while they’re still small and confirms that repairs are holding.
Preventive measures to reduce future flood vulnerability:
- Maintain proper grading that slopes away from the foundation at least 6 inches over 10 feet
- Install or maintain a sump pump in the basement with battery backup
- Improve drainage systems with French drains, extended downspouts, or rain gardens
- Apply waterproofing membrane or sealant to basement walls
- Install flood barriers at doors and low-lying windows
- Elevate critical utilities like HVAC, water heaters, and electrical panels above expected flood levels
- Seal foundation cracks promptly, even small ones, before they expand
Do monthly visual inspections of previously damaged areas for the first year after repairs. Walk through and look at the same cracks, joints, and repair locations you documented during the initial assessment. Check door and window alignment quarterly. The test takes five minutes and catches foundation movement early.
Monitor basement and crawl space humidity levels with an inexpensive hygrometer. Readings consistently above 60% mean inadequate drying or ongoing moisture infiltration. Document any new cracks or changes with photos that include a ruler for scale. Write the date on a piece of paper in the photo. This creates a timeline that shows whether damage is static or progressing.
Consider improvements that address the causes of your flood damage. If water entered because the yard graded toward the house, regrade it. If the basement flooded because the sump pump failed, install a better pump with battery backup. If drainage systems were overwhelmed, add capacity.
French drains intercept water before it reaches the foundation. Rain gardens absorb runoff. Extended downspouts dump roof water far from the house. Elevate HVAC equipment, water heaters, washers, dryers, and electrical panels above the highest water level you experienced. You might not prevent the next flood, but you can prevent it from destroying expensive equipment.
Waterproof basement walls and seal any penetrations where pipes, wires, or vents pass through the foundation. Each improvement reduces vulnerability and gives you better odds when the next heavy rain comes.
Final Words
Start your inspection only after authorities clear the area and water recedes. Work through each zone systematically, from foundation to roof, documenting everything with photos and notes.
Know when to stop and call a professional. Foundation cracks wider than a quarter inch, sagging ceilings, and compromised beams need expert eyes immediately.
Learning how to check for structural damage after flood gives you control when everything feels chaotic. You’ll spot the urgent problems, protect your family from hidden hazards, and save money by catching issues before they get worse.
Your home can recover. You just need a plan and the willingness to take it one step at a time.
FAQ
How do you test for structural damage after flooding?
You test for structural damage after flooding by conducting a systematic visual inspection from outside to inside and bottom to top. Start with a perimeter walk checking the foundation for cracks wider than 1/4 inch, then inspect floors for soft spots, walls for bulging or horizontal cracks, and ceilings for sagging. Test door and window alignment, examine support beams in basements or crawl spaces, and document everything with photos for insurance purposes.
How long does it take for water to cause structural damage?
Water can cause structural damage to a foundation within 48 hours, creating small cracks and structural weakening. Mold begins growing in hidden spaces within 24 to 48 hours of water exposure. Wood materials start swelling and weakening immediately upon saturation, while ongoing water exposure accelerates deterioration of concrete, metal fasteners, and support structures. Quick action after flooding prevents minor problems from escalating into major structural failures.
Who should you call to check for structural damage after a flood?
You should call a licensed structural engineer for foundation issues, compromised support beams, or extensive damage requiring professional evaluation. Certified home inspectors can assess overall structural integrity and provide insurance documentation. For specific concerns, contact qualified flood restoration contractors with structural assessment experience. Always verify credentials, insurance coverage, and request written reports suitable for insurance claims before hiring professionals.
How much does a water damage assessment cost?
A basic water damage assessment from a restoration company typically costs $200 to $500 and often includes moisture detection and initial documentation. Comprehensive structural engineer evaluations range from $500 to $1,500 depending on property size and damage extent. Some restoration companies offer free initial inspections hoping to secure repair work. Professional assessments provide specialized equipment readings, insurance documentation, and repair specifications that DIY inspections cannot match.