
Most families wait until the evacuation order comes to figure out what to pack, and that’s when mistakes happen. You forget medications. You grab the wrong shoes. Your toddler’s clothes don’t fit anymore because you packed them two years ago. A family evacuation bag isn’t something you throw together while water rises or wildfire smoke fills the sky. It’s a pre-packed system that lets you leave in under 10 minutes with everything you actually need for 72 hours. This guide breaks down what to pack for each family member, how to maintain supplies so they work when it counts, and what special items infants, elderly relatives, and pets require to stay safe.
Complete Family Evacuation Bag Checklist: Essential Items by Category
The standard for emergency evacuation bags is 72 hours worth of supplies. That’s the average time it takes for emergency services to set up shelters, distribute aid, and reach affected households after a disaster. Each family member should have their own personal bag, sized for what they can carry. A four year old can’t haul a 40 pound pack, and a teenager shouldn’t be stuck with a tiny daypack. Match the bag to the person.
Water & Food Supplies
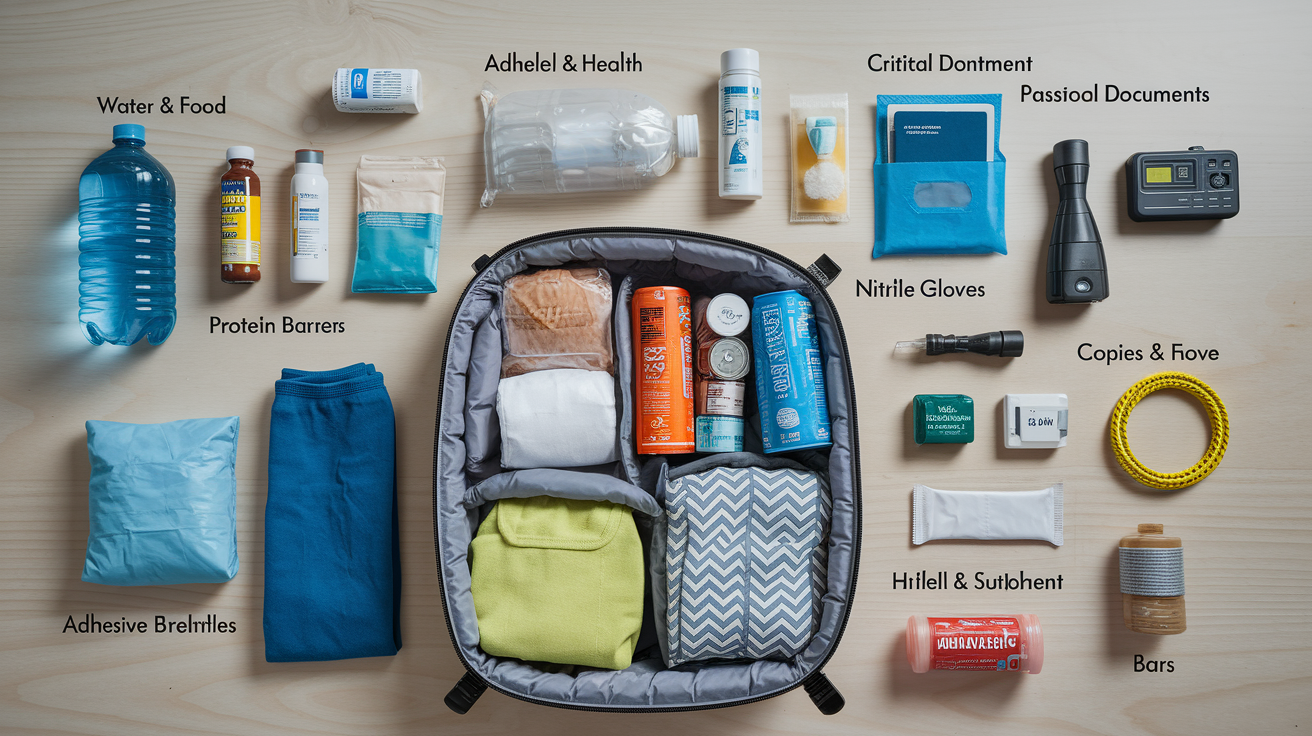
Start with 1 gallon of water per person per day for 3 days. That’s 3 gallons total per person, stored in sealed bottles. Non perishable food for 3 days per person means ready to eat canned items like tuna or beans, protein bars, dried fruit, nuts, crackers that don’t need refrigeration or cooking. If you’ve got an infant, add formula and baby food in sealed containers, enough for 3 days. Pack a manual can opener with the food so you don’t forget it. Eating utensils and paper plates work best because disposable items mean no need for washing. Plastic bags for waste keep things contained. Resealable bags work for used utensils and trash.
Medical & Health Items
Your first aid kit should have adhesive bandages, antibiotic ointment, elastic bandages. Pain reliever like ibuprofen or acetaminophen in original packaging. A 3 to 7 day supply of prescription medications with copies of prescriptions. Talk to your doctor about getting an emergency supply. Pack 3 pairs of medical gloves. Nitrile gloves protect you when giving first aid. Add 3 N95 or cloth masks per person for dust, smoke, or illness protection. Hand sanitizer and disinfectant wipes matter. At least one travel size bottle and one pack. A basic digital thermometer fits in any kit.
Critical Documents
Copies of identification. Driver’s licenses, passports, birth certificates. Health insurance cards, front and back copies. Medical records and allergy lists, especially for children and anyone with chronic conditions. Medication lists with strengths and doses. Write out “Metformin 500mg twice daily” instead of just “Metformin.” Bank account information, enough to access funds if you lose your wallet. Emergency contact phone numbers with out of state contact because local phone lines may be down. Current family photos for identification. Recent pictures help if you get separated. Emergency cash in small bills, $100 to $200 in ones, fives, and tens. USB drive with digital copies. Store all of this in water resistant bags or pouches.
Clothing & Shelter
One complete change of clothes per person including sturdy shoes. Think closed toe shoes you can walk in, not flip flops. Seasonal appropriate layers. A hoodie in summer, thermal layer in winter. Rain gear means 1 poncho per person. Cheap plastic ponchos fold tiny. Pack 1 emergency blanket per person, those thin silver mylar blankets. Add 3 body warmers, the 12 hour kind you shake to activate. Compact sleeping bag if space allows, the kind that compresses into a stuff sack.
Tools & Communication
One flashlight per person with batteries stored separately. Batteries corrode when left in devices. An AM/FM emergency radio with extra batteries keeps you connected to local news when cell service goes out. Cell phone chargers, both wall and car adapters for everyone’s phone type. Portable power bank fully charged. Recharge it every few months so it’s ready. Multi tool or pocket knife, the kind with pliers, screwdriver, and blade. Whistle for signaling, 1 per person. The loud plastic kind works fine. Work gloves in case you need to move debris. Duct tape and rope. A small roll of tape and 20 feet of cord.
Hygiene & Sanitation
Wet wipes, 1 pack per person. These replace showers when water is scarce. Toilet paper and pocket tissues. At least one roll and a few tissue packs. Feminine hygiene products, a week’s worth even if you’re between cycles. Toothbrush, toothpaste, and soap in travel sizes. Diapers and baby wipes for infants, a 3 day supply based on current diaper size. One 30 gallon plastic bag for wet clothes or trash. Three 10 gallon resealable plastic bags per person to keep clean items separate from dirty ones.
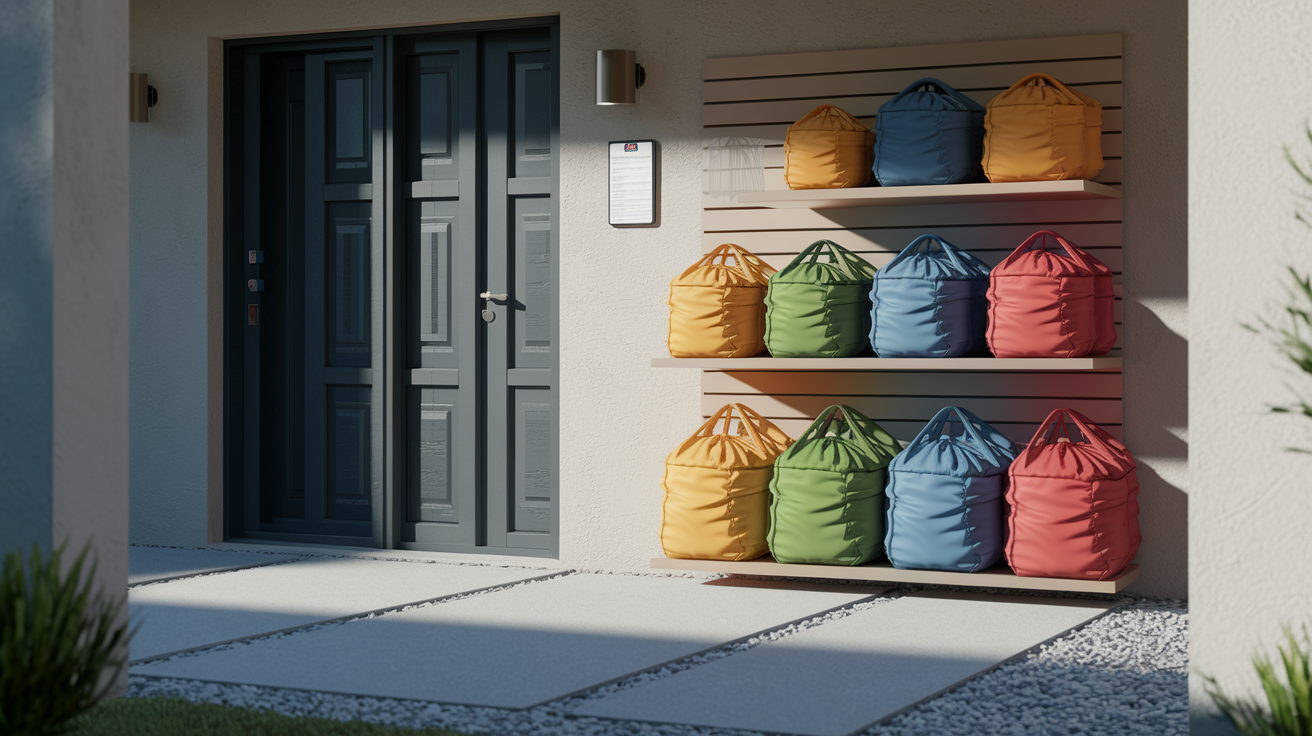
Personalize each bag based on who will carry it. A toddler’s bag might only hold a change of clothes and a comfort toy, while an adult’s bag holds the heavier items like water and canned food. Store all bags together near an exit door, in the garage, or in car trunks so you can grab them fast when an evacuation order comes.
Special Considerations for Infants, Elderly Family Members, and Pets
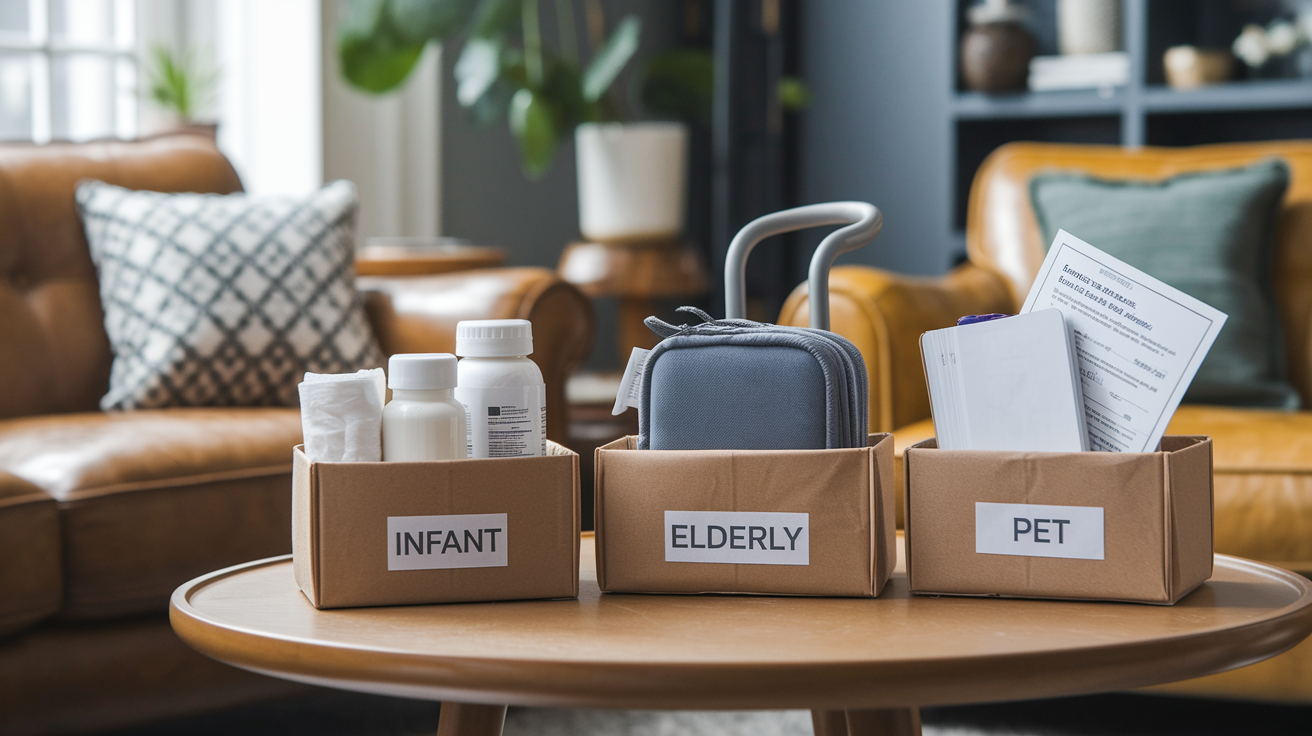
Not everyone in your household has the same needs. Infants can’t eat protein bars. Elderly family members may need mobility aids. Pets won’t survive three days without their own supplies. Tailor each bag to match what that family member actually requires, not what a generic checklist says.
Infant and Baby Specific Supplies
Pack a 3 day supply of formula in sealed containers or single serve packets. If you’re breastfeeding, add a manual breast pump in case stress affects your supply. Include at least 6 bottles with nipples, stored in a resealable bag. Diapers and wipes should cover 8 to 10 changes per day, so 24 to 30 diapers total. Add baby food in sealed jars or pouches if your child is eating solids.
Comfort items matter. That specific stuffed animal or blanket can calm a baby down when everything else feels wrong. Pack two extra outfits in the current size because blowouts don’t stop during emergencies. If your baby uses specialized feeding equipment like a specific bottle type or paced feeding nipples, pack extras. You won’t find those items at a shelter.
Elderly and Special Needs Considerations
Medical equipment often needs power. Pack battery backups or a small power bank compatible with CPAP machines, oxygen concentrators, or other critical devices. Mobility aids like walkers, canes, or wheelchairs should stay accessible, not buried in a storage closet.
Add communication devices or cards if your family member is nonverbal or has cognitive challenges. Simple cards that say “I need help” or “I’m looking for my family” can make a huge difference. Extra incontinence products should cover 3 days, same as diapers for babies.
Medical ID bracelets help first responders understand conditions like diabetes, epilepsy, or severe allergies at a glance. Attach emergency contact labels to wheelchairs, wallets, and backpacks with a phone number and any critical medical information. Families with special health care needs often require earlier evacuation because specialized transportation takes longer to arrange and medical shelters fill up fast.
Pet Emergency Supplies
Your dog or cat needs their own kit. Pack a 3 day supply of their regular food in sealed bags or containers. Switching food types during stress causes digestive problems you don’t need. Add collapsible water bowls or small dishes.
Leashes and carriers should be stored with the evacuation bags, not scattered around the house. Many shelters don’t accept pets, or they separate animals from families, so know your options before you evacuate. Include any medications your pet takes, along with a copy of vaccination records in a waterproof bag. Recent photos of your pet help if you get separated. Write your phone number on their collar with a permanent marker as a backup to ID tags.
Families requiring specialized medical shelters or transportation should identify specific destinations before an emergency hits. Call your local emergency management office now and ask where medical needs shelters are located and how to get on the list.
Maintenance Schedule and Updating Your Family Emergency Supplies
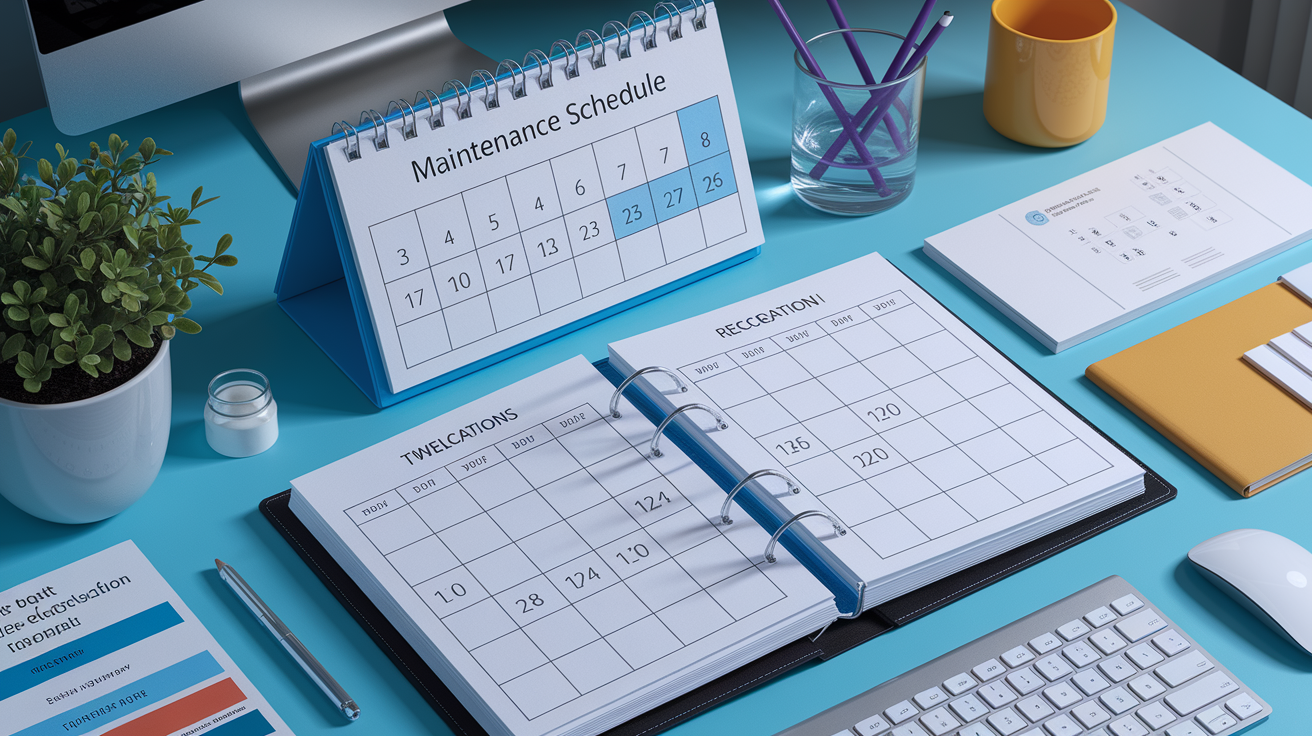
An evacuation bag full of expired food and dead batteries is just an expensive backpack. Regular maintenance prevents kit failures when you actually need the contents. Set it up once and it feels like a win, but a year later half the supplies are worthless if you never checked them.
| Item Category | Check Frequency | Replacement Timeline |
|---|---|---|
| Water | Every 6 months | Replace annually |
| Food | Every 6 months | Replace before expiration |
| Medications | Every 6 months | Replace as prescriptions renew |
| Batteries | Every 6 months | Replace annually or when corroded |
| Clothing | Annually | Replace as children grow or seasons change |
| Documents | Annually | Update as information changes |
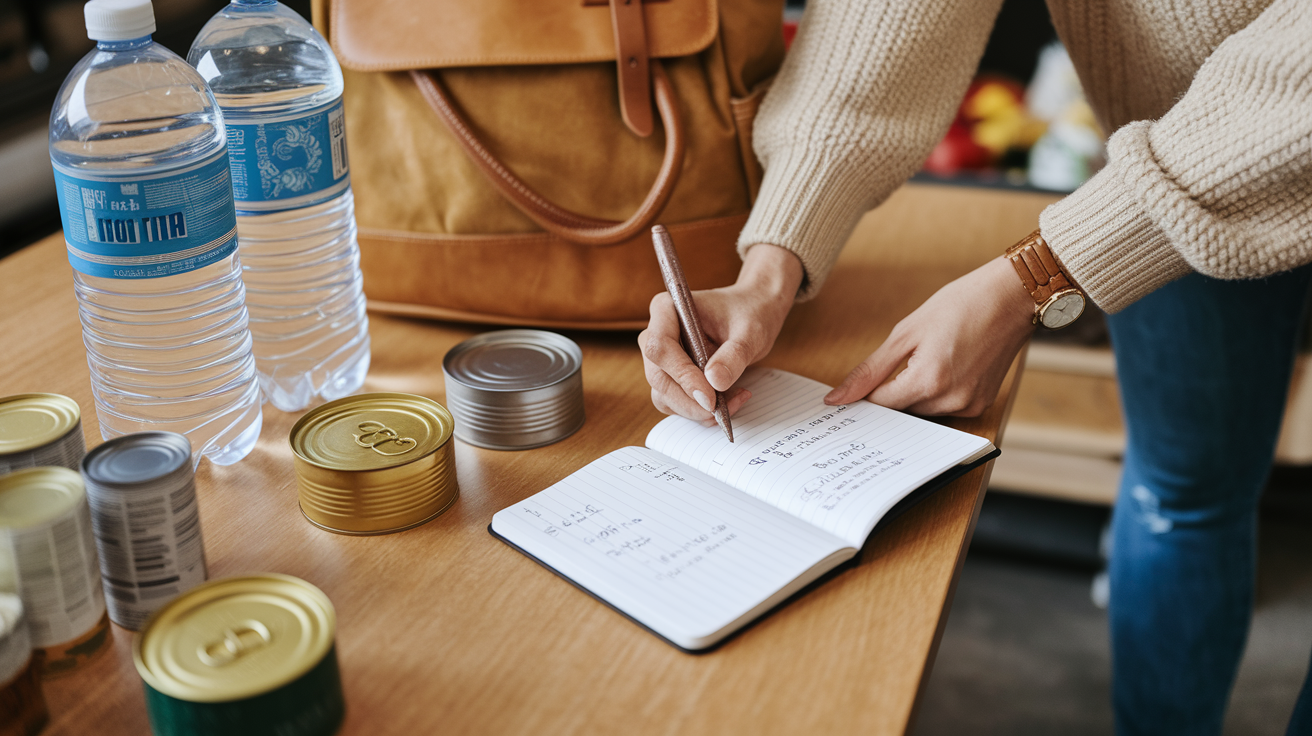
Set calendar reminders on your phone for every six months. Pick easy dates to remember, like your birthday and six months later. When the reminder pops up, pull out the bags and go through them.
Rotate supplies into regular household use before they expire. Eat the granola bars from the kit and replace them with fresh ones. Use the batteries in your TV remote and swap in new ones for the kit. Buy replacement items gradually instead of all at once. Grab an extra pack of batteries when they’re on sale, or pick up a few cans of tuna when you’re already grocery shopping.
Check batteries separately from the devices. Store flashlight batteries outside the flashlight to prevent corrosion. When a battery sits in a device for a year, it can leak and ruin the whole thing.
Test your equipment during each review. Turn on the flashlights. Does the bulb still work? Crank the emergency radio. Do you hear static? Check that phone chargers still fit your current phone model because you might have upgraded since you built the kit.
Involve kids in age appropriate kit checks. Let a seven year old replace the granola bars or count the water bottles. It builds preparedness awareness and makes them feel capable instead of scared.
Budget Friendly Strategies for Building Emergency Kits Over Time
A complete emergency kit can cost $200 to $400 per person if you buy everything at once. That’s out of reach for a lot of families, but you don’t have to build it in one trip. Preparedness works better as a process than a project.
Buy 1 to 2 extra canned items per grocery trip. Add a can of beans or tuna to your cart each week, and in two months you’ll have 10 to 15 cans set aside. Shop thrift stores for backpacks and containers. A $5 used backpack works as well as a $50 new one. Request emergency supplies as birthday or holiday gifts. Ask relatives for a hand crank radio or a case of water instead of another sweater.
Start with absolute needs then add optional items. Water, medications, and flashlights come before sleeping bags or camping stoves. Use items you already own. An old phone with a dead SIM card still works as an emergency flashlight if you keep it charged.
Compare prices at discount stores. Dollar stores carry batteries, first aid supplies, and ponchos for less than grocery stores. Prioritize multi use items over single purpose tools. A multi tool replaces five separate items. Take advantage of sales on batteries and non perishables. Stock up when AA batteries or canned goods go on sale.
Free or low cost resources exist if you know where to look. Print checklists from emergency management websites instead of buying preparedness books. Attend community preparedness events where fire departments or Red Cross chapters sometimes give away smoke detectors, flashlights, or first aid kits. Some libraries host emergency prep workshops with free supplies for attendees. If your family needs specialized equipment you can’t afford, like a backup power supply for medical devices, ask your doctor or medical equipment supplier about loaner programs or payment plans.
The incremental approach works. Even a partial kit provides more safety than no preparation. If all you can afford this month is three gallons of water and a flashlight, that’s still better than nothing. Add a few cans of food next month. Pick up a first aid kit the month after that. Families can upgrade their kits over six months or a year as budget allows, and you’ll still be better prepared than most households.
Where to Store Emergency Kits and Maintain Accessibility
Storage location can make the difference between grabbing your kit in 30 seconds or leaving it behind. The best emergency supplies in the world don’t help if they’re buried in a back closet when the evacuation order comes.
Primary home location near exit doors or garage. Ground floor storage beats second floor closets when you need to leave fast. Vehicle trunk for families who commute. If you’re at work when disaster hits, your car kit gets you through the first critical hours. Workplace with a smaller personal kit. A desk drawer kit covers basics like water, snacks, medications, and a phone charger.
School lockers for older children. Middle and high school students should have a small kit they control. Multiple locations if family has a second home or frequent destinations. Vacation property or a grandparent’s house where you spend weekends. Avoid basements or attics that may become inaccessible. Flooding blocks basements, and you won’t have time to climb attic stairs during a quick evacuation.
Organization matters as much as location. Keep a contents list on paper inside each kit and save a digital copy on your phone. Make sure all family members know where the bags are stored. Walk younger children to the storage spot and show them which bags belong to who.
Practice grabbing bags during evacuation drills, even if it feels silly. The goal is muscle memory. When your brain is flooded with stress hormones and your hands are shaking, you want “grab the red backpack by the garage door” to be automatic.
Seasonal considerations change your storage strategy. Move kits to more accessible locations during fire season, hurricane season, or other high risk periods in your region. If you live in wildfire country, shift bags from the garage to the car trunk in July. Coastal families should keep kits extra accessible from June through November during hurricane season.
Selecting the Right Backpack and Storage Container for Your Evacuation Bag
The wrong bag can make a well stocked kit useless. A grocery tote bag won’t survive a scramble through debris. A giant hiking pack is too heavy for most people to carry while stressed and moving fast.
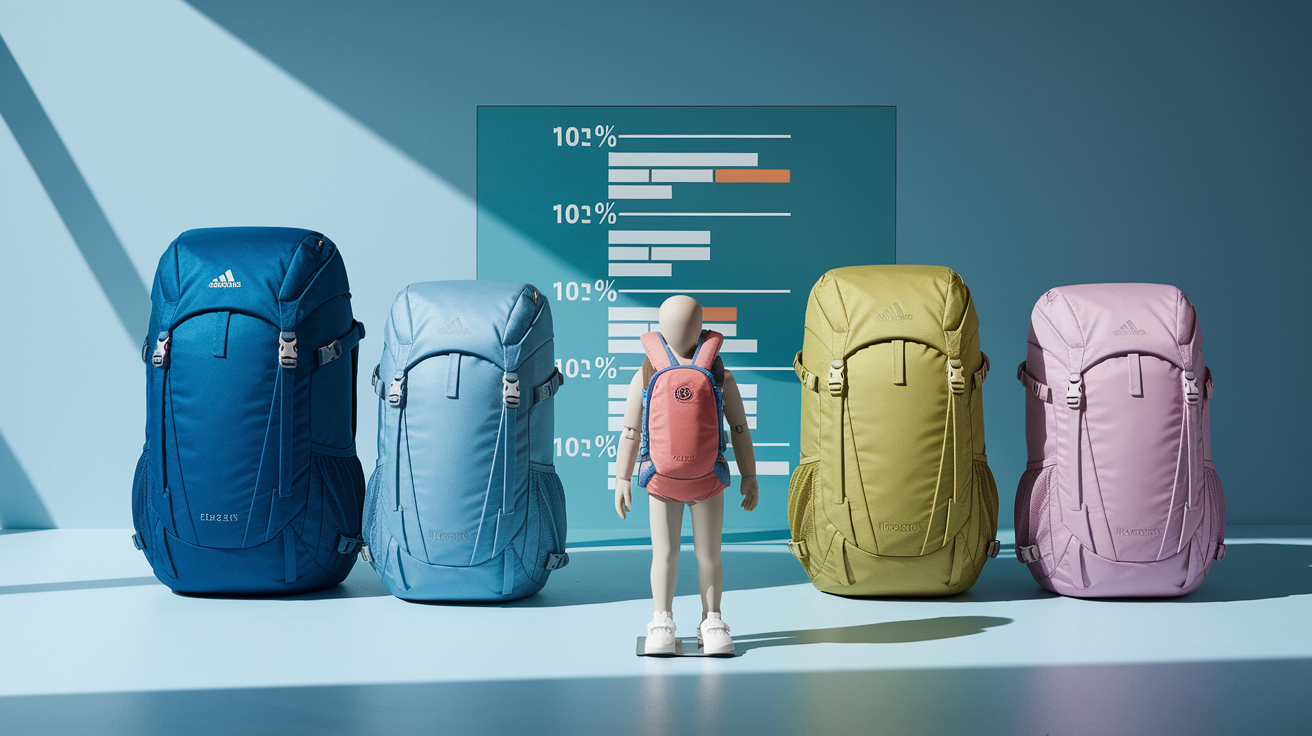
Look for comfortable padded straps that distribute weight across your shoulders and back. Appropriate size depends on who will carry it. A child’s backpack should be small enough that they can actually run with it if needed. Adult bags can be larger, but they shouldn’t be so huge you’re tempted to overpack.
Multiple compartments help with organization. You want easy access to critical items like medications and documents without dumping the whole bag. Water resistant or waterproof materials protect contents from rain during evacuation. Durable construction matters because you might set the bag down on gravel, pavement, or wet ground.
Each family member gets their own bag. No shared bags because families can get separated. Bags should be portable by the person they’re assigned to. Test it by having that person carry it for 10 minutes. Use internal waterproof pouches for documents and electronics. Even water resistant bags can leak at seams.
Bright colors or reflective strips improve visibility. A neon green or orange bag is easier to spot in dim light or smoke. Bags should close securely. Zippers work better than drawstrings that can loosen.
Alternative containers work for home storage if you’re keeping a stationary kit that you’ll transfer to a vehicle. Large plastic bins with handles or duffel bags can hold more supplies and protect contents from dust and pests. Some families keep a big bin at home and smaller backpacks ready to fill.
Weight distribution is critical. Bags shouldn’t exceed 10 to 15% of the carrier’s body weight. A 100 pound child should carry no more than 10 to 15 pounds total. A 150 pound adult can handle 15 to 22 pounds comfortably. Weigh your packed bags on a bathroom scale. If they’re too heavy, remove less critical items or redistribute supplies among family members.
Final Words
A solid evacuation bag puts you ahead of chaos when floodwater threatens your home.
Pack the 72-hour essentials first: water, food, meds, documents, and one change of clothes per person. Then add the items your family actually needs, like infant formula, mobility aids, or pet supplies.
Set a calendar reminder to check expiration dates twice a year. Store batteries separately. Keep bags near exits.
You don’t need to buy everything at once. Start with one extra can of food per shopping trip and build from there.
Knowing how to prepare a family evacuation bag means you can grab it and go when every second counts. That’s what keeps people safe.
FAQ
How do you prepare an evacuation bag?
You prepare an evacuation bag by packing 72 hours of water, food, medications, documents, clothing, and tools in a backpack for each family member. Start with one gallon of water per person per day, non-perishable food, prescription medications, and copies of ID stored in waterproof bags.
What are 10 items in an emergency go bag?
The 10 items in an emergency go bag are water (3 gallons per person), non-perishable food, first aid kit, prescription medications, flashlight with batteries, emergency radio, copies of critical documents, one change of clothes, cell phone charger, and emergency cash in small bills.
What are the 5 P’s of evacuation?
The 5 P’s of evacuation are people (family and pets), prescriptions (medications and medical equipment), papers (important documents and insurance information), personal needs (clothing, food, water), and priceless items (irreplaceable photos and keepsakes). Grab these first when evacuation orders come.
How often should you replace emergency kit supplies?
You should replace emergency kit supplies every 6 months for review and annually for perishables. Water, food, medications, and batteries need replacement yearly or before expiration dates. Set phone reminders to check clothing fits and documents remain current.
What clothing should go in a family evacuation bag?
Clothing in a family evacuation bag should include one complete change per person with sturdy shoes, seasonal layers, rain gear, and emergency blankets. Pack practical items you can wear immediately, not fancy clothes. Add extra socks and underwear for comfort.
How do you store evacuation bags at home?
You store evacuation bags at home near exit doors, in the garage, or by the front entrance where you can grab them fast. Avoid basements or attics that flood or become blocked. Keep a contents list inside each bag and on your phone.
What medical supplies belong in an emergency kit?
Medical supplies in an emergency kit include a first aid kit, pain reliever, 3 to 7 day supply of prescription medications with copies, medical gloves, N95 masks, hand sanitizer, and a thermometer. Add medication lists showing strengths, doses, and prescribing doctors.
How do you build an emergency kit on a budget?
You build an emergency kit on a budget by buying 1 to 2 extra canned items per grocery trip, shopping thrift stores for backpacks, and requesting supplies as gifts. Start with water and medications, then add other items over weeks as money allows.
What documents should you pack in a go bag?
Documents in a go bag should include copies of ID, passports, health insurance cards, bank information, medication lists, emergency contacts, and recent family photos for identification. Store everything in waterproof bags or pouches. Add a USB drive with digital copies.
What special supplies do infants need in evacuation bags?
Infants need in evacuation bags a 3 day supply of formula, bottles, diapers, wipes, baby food, extra clothing, and comfort items like pacifiers or small toys. Pack any specialized feeding equipment like syringes or bottle warmers that run on batteries.
How do you pack emergency supplies for elderly family members?
You pack emergency supplies for elderly family members by including power supplies for medical equipment, mobility aids, communication cards, extra incontinence products, and medical ID bracelets. Add emergency contact labels to wheelchairs and wallets. Plan for earlier evacuation if transportation takes longer.
What pet supplies go in an emergency evacuation kit?
Pet supplies in an emergency evacuation kit include a 3 day supply of food, water bowls, leashes, carriers, medications, veterinary records, and recent photos for identification. Add waste bags and any comfort items that calm your pet during stress.
What bag works best for an evacuation kit?
The bag that works best for an evacuation kit is a backpack with padded straps, multiple compartments, and water resistant material sized appropriately for the person carrying it. Choose bright colors or add reflective strips for visibility. Bags should weigh no more than 10 to 15 percent of body weight.
How do you prevent batteries from corroding in emergency kits?
You prevent batteries from corroding in emergency kits by storing them outside flashlights and devices until needed. Check batteries every 6 months and replace them annually or when you see corrosion. Keep batteries in their original packaging or sealed bags.
Where should families store emergency kits during fire season?
Families should store emergency kits during fire season near exit doors, in vehicles, or in garages for fastest access when evacuation orders come. Move kits from basements or storage areas to main living spaces during high risk periods. Tell all family members the location.