
You probably think roof damage means missing shingles you can spot from your driveway. But the real problems after a flood hide where you can’t see them: in soaked decking, compromised rafters, and mold colonies spreading through your attic in the first 48 hours. This guide walks you through a safe, systematic inspection that catches both obvious surface damage and the hidden structural threats that cause roofs to fail weeks after floodwaters drop.
Safety Protocols and Inspection Preparation After Flooding

Don’t start your roof assessment until floodwaters drop completely and the weather settles. Check your local forecast to make sure no storms are heading your way in the next 24 hours. Starting an inspection when conditions are still unstable puts you at risk and makes it nearly impossible to figure out what’s actually damaged.
Electrical hazards are one of the biggest threats after flooding. Look for downed power lines near your property and stay at least 30 feet away from any you see. Wet electrical equipment can cause electrocution. That includes outdoor outlets, light fixtures, and service panels. Turn off power at your main breaker if you can reach it safely without stepping in standing water. If you can’t access the panel safely, call your utility company to disconnect service before you do anything else.
Floodwater isn’t just dirty. It’s dangerous. It carries sewage backup, industrial chemicals, pesticides, and bacteria that cause serious illness. Wear waterproof gloves, long sleeves, long pants, and non-slip boots with thick soles. Add safety glasses to protect your eyes from debris and contaminated splashes. If you suspect mold growth in your attic or see visible colonies, wear an N95 respirator mask before going in there.
Stay off your roof entirely if you see any of these:
- Steep pitch that requires special equipment
- Visible sagging, dipping, or uneven sections from ground level
- Standing water pooling on the surface
- Slippery conditions from algae, moss, or wet debris
- Personal health or mobility concerns that affect your balance
This guide follows a systematic five-zone inspection: (1) Exterior assessment from ground level, (2) Gutters and drainage systems, (3) Roof surface examination by material type, (4) Interior ceilings and living spaces, (5) Attic evaluation.
Use ground-level methods whenever possible. Binoculars, telephoto camera lenses, and smartphone zoom let you examine suspicious areas closely without climbing. This approach helps you catch both obvious damage like missing shingles and subtle problems like small cracks that expand over time.
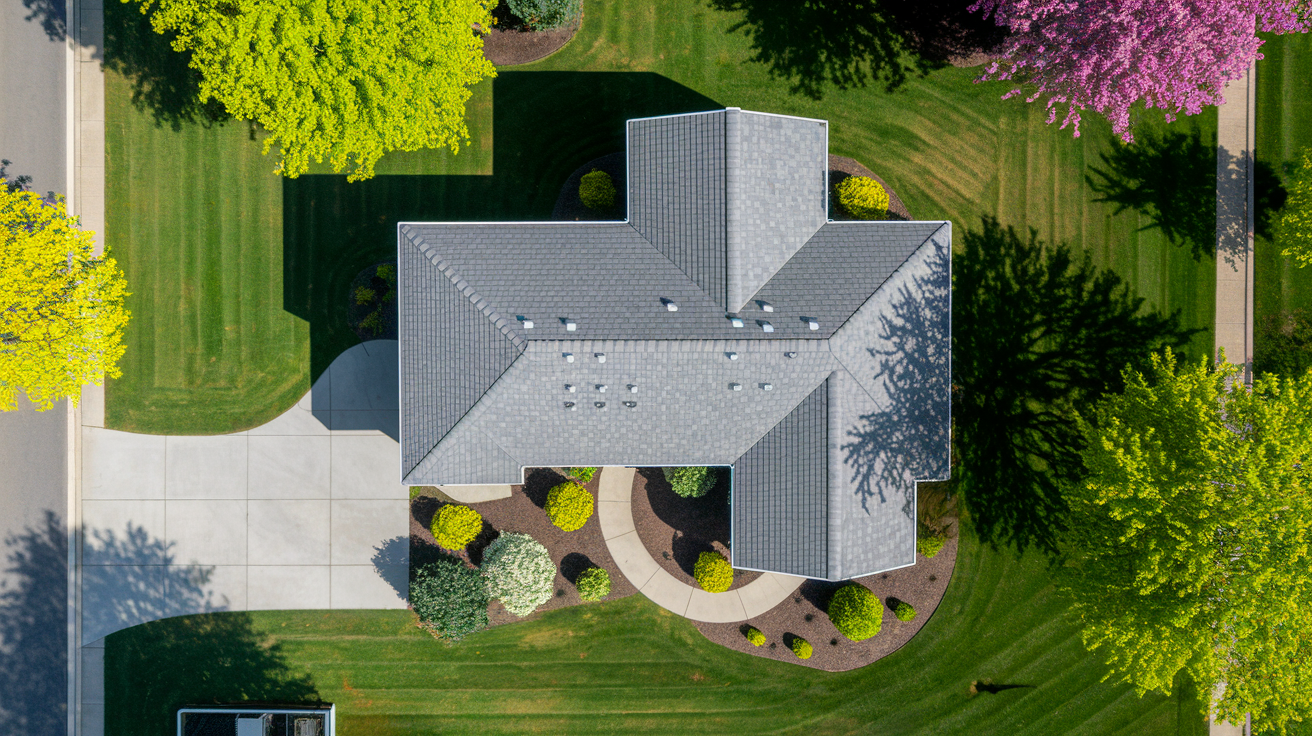
Comprehensive Exterior Roof Damage Assessment

Most significant flood damage shows up clearly from ground level when you know what to look for. You don’t need to risk climbing to spot major problems.
Plan your inspection for mid-morning or mid-afternoon when angled sunlight reveals texture changes, shadows, and irregularities that disappear in flat overhead light. Walk your home’s complete perimeter at least twice, stopping every few feet to scan different roof sections from changing angles.
Ground-Level Visual Assessment
Use binoculars to examine suspicious areas more closely without leaving the ground. Take photographs of anything that looks off. You’ll use these for insurance documentation and to show contractors later. Focus your binoculars on roof edges first, then work your way up toward the peak in horizontal bands.
From ground level, you can spot missing or displaced shingles and tiles, sagging or uneven sections that weren’t there before, visible water stains on exterior walls just below the roofline, accumulated debris like branches and leaves, damaged or separated flashing around chimneys and vents, standing water pooling on flat sections instead of draining, and storm debris that punched through the surface.
Gutter and Drainage System Evaluation
Gutters take a beating during floods and often fail first. When they go, water backs up under your shingles and finds ways inside your home. Compromised gutters turn a manageable roof problem into a major water intrusion crisis.
Check your gutters carefully for these damage signs:
- Separation from fascia boards, creating gaps where water pours behind the gutter
- Dents and twisting that change the pitch and prevent proper drainage
- Sagging sections and complete detachment where fasteners pulled loose
- Debris accumulation and blockages causing water to back up under shingles
- Downspout flow problems and water pooling near your foundation
- Granule accumulation (looks like coarse sand) indicating your shingles are deteriorating
Even after floodwaters drop, damaged drainage systems keep causing problems. Clogged gutters force the next rainstorm’s water under your shingles, potentially penetrating the underlayment or reaching the roof deck. That’s how a flood in May causes a ceiling leak in July.
Close-Up Roof Surface Examination by Material Type
Only do close-up inspections if conditions permit safe roof access. That means dry surfaces, moderate temperatures, gentle slopes, and no visible structural compromise. When in doubt, stay on the ground and call a professional.
Asphalt Shingle Indicators
Look for shingles that curl at the edges, creating gaps where water sneaks underneath. Buckling shows up as waves or ripples running across shingle sections. Blistering appears as raised bubbles on the surface. These pop during storms and create holes. Granule loss leaves patches of exposed black asphalt that look different from surrounding shingles. Missing shingles leave obvious bare spots. Most important, check whether overlapped shingles still seal together properly. Wind and flooding can break these water-tight seals even when shingles stay in place.
Tile and Slate Signs
Inspect for hairline cracks that may not leak immediately but will expand. Pitting creates small divots on the surface. Displaced tiles sit crooked or have slid out of position. Missing sections leave gaps in your roof’s protective layer. Any spot where you can see the underlayment beneath tiles means water is already getting through.
Metal Roofing Assessment
Check for dents from falling debris or hail. Scratches that cut through protective coatings let rust start. Fastener loosening shows up as screws sitting higher than surrounding metal or washers that no longer seal tight. Panel separation creates gaps at seams. Rust development appears as orange or brown staining, especially around fasteners and cut edges.
Pay special attention to flashing around chimneys, skylights, vents, and valleys where two roof planes meet. These spots leak first when flooding compromises the seals. Press gently on any area you can safely reach. Soft spots or sections that feel unstable indicate serious problems underneath the surface layer you can see.
Interior Ceiling and Attic Flood Damage Evaluation

Interior damage reveals the true extent of roof compromise after flooding. What looks minor outside often shows up as major problems inside.
Check your ceilings throughout the house for these warning signs:
- Water stains appearing as brown, yellow, or dark patches
- Sagging drywall or plaster that looks heavy and bowed
- Visible drips or active leaks, even small ones
- Paint peeling or bubbling where moisture pushes it away from the surface
- Musty odors that smell like wet cardboard or earth
Head up to your attic with a bright flashlight and look for:
- Damp or wet insulation that feels heavy and looks darker than surrounding material
- Water pooling on the attic floor or across horizontal surfaces
- Sunlight visible through the roof decking where it shouldn’t be
- Dark streaks running down rafters and decking from water trails
- Musty mold odors that hit you when you first climb up
- Condensation beading on metal components like vent pipes and nail tips
Use your flashlight to examine corners, edges, and shadowed areas thoroughly. Water travels along rafters and beams before dripping, so the leak location inside rarely sits directly under the roof damage point. Check your attic’s ventilation system (soffit vents, ridge vents, and gable vents) to see whether moisture can escape properly or if it’s trapped inside creating a mold factory. Hidden moisture starts growing mold within 24 to 48 hours, so speed matters here. If you’re reading this more than two days after your flood, assume mold is already developing in any wet areas you find. As covered in Mold Prevention and First 48 Hours Damage Control Priorities, rapid response to moisture issues prevents small problems from becoming health hazards.
Identifying Structural Integrity Problems After Flooding
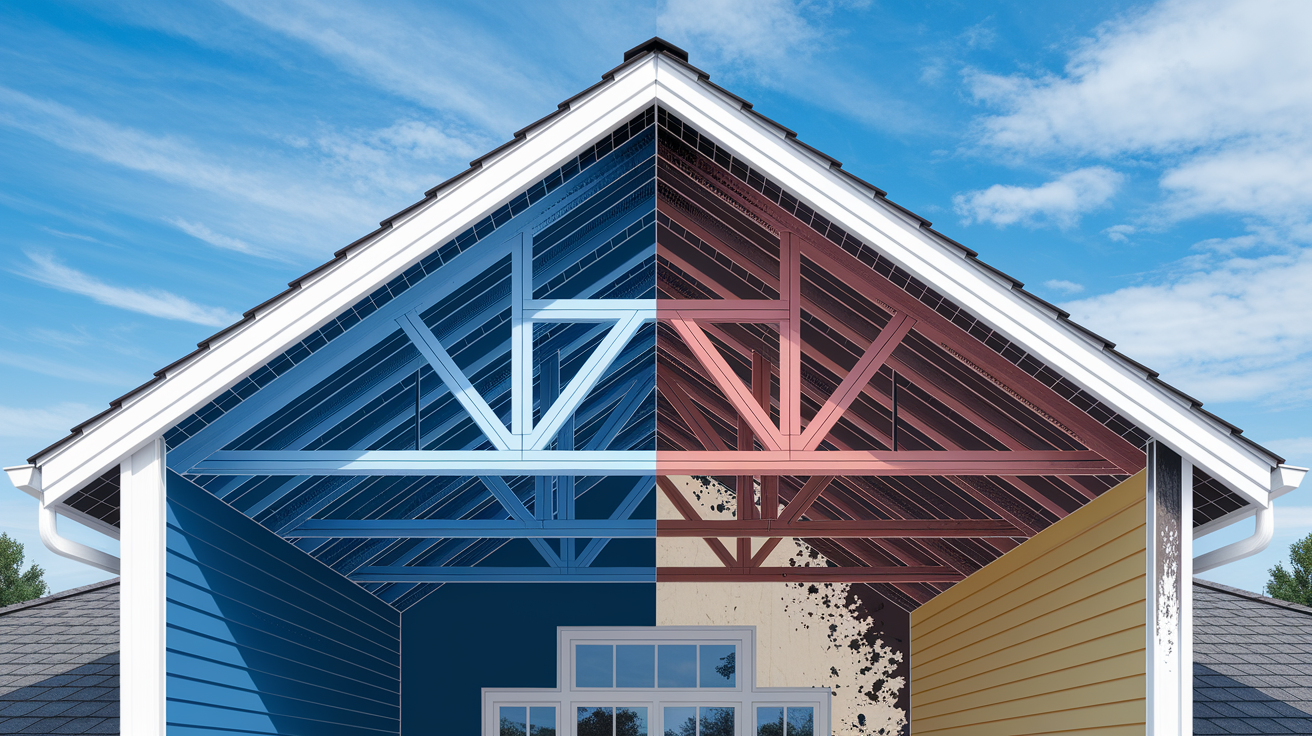
Structural damage means your roof’s bones (the decking, rafters, and support beams) are compromised, not just the shingles you see on top. Surface-level cosmetic issues like missing shingles or scraped paint need repair but don’t threaten your home’s stability. Structural problems can lead to roof collapse.
Visible sagging, dipping, or uneven roof planes that weren’t there before your flood are emergency indicators. Your roof should follow consistent planes and angles. Any section that looks lower than it should, curves where it should be straight, or creates a valley where the design shows a peak means something underneath gave way. Evacuate rooms directly below these areas immediately.
Prolonged water saturation destroys wood’s load-bearing capacity. Roof decking, rafters, and support structures soak up floodwater like sponges. As wood fibers absorb moisture, they swell, lose strength, and begin rotting. Wood rot spreads through structural components, turning solid beams into crumbly, weak sections that can’t hold your roof’s weight. Flooding accelerates this process dramatically. Damage that would take years under normal conditions happens in weeks after a flood.
| Structural Warning Sign | Severity Level | Immediate Action Required |
|---|---|---|
| Visible sagging or dipping roof sections | Critical | Evacuate area below, call structural engineer immediately |
| Soft or spongy areas when walked on | Severe | Stop walking on roof, mark area, contact professional same day |
| Cracking or popping sounds from attic | Severe | Evacuate home, do not enter attic, call emergency services if sounds continue |
| Large water stains spreading rapidly | High | Place collection containers, photograph expansion, call roofer within 24 hours |
| Separation visible between roof and walls | Critical | Evacuate immediately, contact structural engineer and building inspector |
Documenting Roof Flood Damage for Insurance Claims

Thorough documentation often determines whether your insurance claim gets approved and how much you receive. Missing photos or incomplete records give adjusters reasons to reduce payouts or deny claims entirely.
Start documenting immediately, even before you begin any cleanup. Evidence disappears fast. Debris gets cleared, standing water drains, and temporary repairs cover damage. Insurance companies want to see the problem at its worst, not after you’ve made it better.
Follow this procedure:
- Date and time-stamp all photos and videos using your phone’s automatic settings or a camera with this feature enabled
- Photograph damage from multiple angles and distances. Wide shots showing context and close-ups showing details
- Capture overall roof views from all four sides of your house, then zoom in on specific damage
- Document interior and exterior damage, showing how outside roof problems created inside destruction
- Photograph debris and standing water before removal, proving what hit your roof and how much water accumulated
- Keep written logs describing each damaged area in simple language with measurements when possible
- Save receipts for emergency repairs and temporary protection like tarps, showing you acted to prevent further damage
- Create backup copies of all documentation by uploading to cloud storage or emailing files to yourself
Notify your insurance provider within 24 to 48 hours of discovering damage. Most policies require prompt notification, and delays can complicate your claim. Your adjuster will schedule their own inspection, but your documentation provides supporting evidence that shows the full extent of damage, especially if conditions change before they arrive. Video walkthroughs capture extent and context better than photos alone. Walk through your attic narrating what you see, then do the same for damaged rooms, explaining how the problems connect. Just as contaminated supplies need immediate attention after disasters (covered in Food and Water Safety Tips After a Disaster), damage documentation requires the same urgency to protect your recovery options.
When to Call Professional Roofers After Flood Damage

While homeowner inspections provide valuable preliminary information, professionals bring expertise, specialized equipment, and trained eyes that reveal hidden problems you’ll miss. They know where floods hide their damage.
Call professional roofers immediately if you spot any of these:
- Any structural sagging or soft spots when walking on accessible roof areas
- Extensive shingle loss covering more than 20% of your roof surface
- Visible holes or punctures in the roof surface from fallen debris
- Water actively entering your living spaces through ceilings or walls
- Suspicion of decking or rafter damage based on interior sagging
- Insurance claim filing, since most companies require professional verification
- Concerns about your personal safety during inspection
- Inability to access certain roof areas safely due to pitch, height, or obstacles
Hire licensed, insured contractors who have specific experience with flood damage, not just general roofing. Flood damage creates different problems than typical storm damage. Contractors need to understand water saturation effects, mold risks, and structural compromise patterns. Ask to see their license, verify their insurance covers flood repair work, and check references from other flood-affected homeowners.
Many reputable contractors offer free initial inspections and provide detailed damage assessments in writing. These reports break down what’s damaged, why it happened, what needs immediate repair, and what can wait. Free doesn’t mean obligation. Get multiple inspections and estimates before choosing a contractor. Professional inspections are typically required for insurance claim validation and to maintain any existing roof warranties. Insurance companies trust licensed contractor assessments more than homeowner reports, and manufacturers void warranties if you skip professional verification after major damage events.
Emergency Repairs and Temporary Flood Damage Protection

You have a critical 24 to 48 hour window when temporary protection prevents your damage from multiplying. A roof with a few missing shingles becomes a roof with destroyed decking, ruined insulation, and mold growth if you wait.
Proper tarp installation makes the difference between temporary protection and more damage. Extend your tarp at least four feet beyond damaged areas on all sides. Water runs under tarps that stop right at damage edges. Use wooden boards, not just sandbags, to anchor tarp edges, creating a seal that wind can’t lift. Don’t walk on already-compromised areas while installing tarps. Work from stable sections and use a harness if your pitch requires one. Spread tarps smooth without wrinkles where water collects.
Inside your home, place buckets under active leaks and empty them before they overflow. Move furniture, electronics, and valuables out of affected rooms completely. Don’t just cover them with plastic. Set up fans to promote air circulation in damp areas, but don’t aim fans directly at standing water or extremely wet surfaces (you’ll just spread contamination). Remove standing water from roof surfaces if you can access them safely using a push broom to sweep water toward drains or edges.
Photograph your temporary repairs before and after installation for insurance purposes. Your policy likely requires you to mitigate further damage, and these photos prove you acted responsibly. But don’t make permanent repairs before your insurance adjuster completes their inspection. Replacing damaged materials before documentation can affect claim processing. Adjusters need to see the actual damage, not your fixed version. Temporary protection like tarps doesn’t interfere with claims because it’s clearly removable and doesn’t hide or replace damaged components.
Long-Term Flood Damage Effects on Roof Systems

Compromised roof systems become increasingly vulnerable to future weather events, creating a downward spiral where each storm causes more damage than the last. Your roof after a flood isn’t the same roof you had before, even if repairs look fine on the surface.
The progression from minor leaks to major structural problems unfolds over weeks and months if you ignore initial damage. A small leak that drips once after heavy rain becomes a steady stream within two months. That stream saturates ceiling insulation, which stays wet and grows mold. The mold spreads across attic surfaces. Meanwhile, the leak expands as water dissolves more of the sealant or widens cracks in damaged shingles. Six months later, you’re replacing entire ceiling sections, remediating extensive mold, and discovering that roof decking rotted through.
Mold colonizes hidden areas like attic spaces and within insulation layers where you can’t see it growing. It doesn’t need much. Just moisture and darkness. Flood-compromised roofs provide both. Mold appears as black, green, or white patches, but often it grows behind surfaces where only the musty smell gives it away. By the time you see visible mold on ceiling surfaces, colonies have already spread extensively through hidden areas.
Wood rot attacks decking and framing members, weakening structural integrity gradually until a “minor” storm causes sudden catastrophic failure. Rotted wood looks darker than surrounding material, feels soft or spongy when pressed, and crumbles when poked with a screwdriver. Damaged underlayment allows moisture to penetrate even when the surface appears intact. Your shingles might look fine while water seeps through failing barriers underneath, destroying decking you can’t see without removing the shingles. Your energy bills climb as compromised insulation loses effectiveness and air leaks develop around damaged areas. Heat escapes in winter, enters in summer, and your HVAC system runs constantly trying to compensate. Deferred repairs ultimately cost significantly more than prompt intervention. A $1,500 repair becomes a $15,000 roof replacement when you wait.
Post-Flood Roof Inspection Timeline and Priorities
Understanding the timeline helps you make informed decisions about urgency and sequencing. You can’t do everything at once, but you need to know what must happen now versus what can wait a few days.
Some steps must happen immediately while others can be scheduled strategically. Your timeline depends partly on damage severity and contractor availability, but the basic framework stays consistent.
| Timeframe | Critical Actions | Purpose |
|---|---|---|
| First 24 Hours | Safety assessment, initial documentation with photos and notes, emergency stabilization like tarps over holes | Protect people, preserve evidence, stop damage from multiplying |
| 24-48 Hours | Insurance notification, detailed documentation of all affected areas, moisture control through ventilation and water removal | Start claim process, prevent mold establishment, create comprehensive damage record |
| 48-72 Hours | Professional inspection scheduling, temporary repairs completion, interior protection measures | Get expert assessment, finalize emergency containment, protect belongings |
| Week 1 | Insurance adjuster visit, multiple contractor estimates, repair planning and prioritization | Validate claim with professional inspection, compare options, develop restoration strategy |
| Weeks 2-4 | Permanent repairs, structural restoration, material replacement, mold remediation if needed | Restore roof integrity, eliminate hazards, return home to safe condition |
| Ongoing | Monitoring for delayed effects like slow leaks or hidden mold, preventive maintenance scheduling, documentation of completed work | Catch problems before they grow, maintain roof health, preserve repair records for future reference |
Timelines may compress or extend based on damage severity and contractor availability. In disaster areas where hundreds of homes need repairs, you might wait weeks for contractors and adjusters. In isolated damage situations, you might complete everything faster. Maintain momentum throughout the recovery process to prevent secondary damage. Don’t let your temporary tarp stay in place for months because you got busy with other priorities.
Preventive Measures and Future Flood Damage Reduction
Lessons learned from flood damage should inform long-term protective strategies that minimize your vulnerability next time. Because there will be a next time.
Take these preventive measures:
- Annual professional roof inspections before storm season to catch small problems while they’re small
- Regular gutter cleaning and maintenance, especially before and after heavy weather periods
- Improving roof drainage and addressing low spots where water pools
- Upgrading to impact-resistant roofing materials during your next replacement
- Maintaining proper attic ventilation to reduce moisture buildup that weakens materials
- Trimming overhanging branches that could fall during storms and punch through your roof
- Sealing and maintaining flashing around all penetrations like vents, chimneys, and skylights
The cost-benefit ratio strongly favors preventive maintenance over emergency repairs. A $300 annual inspection catches a $500 repair before it becomes an $8,000 disaster. Many improvements qualify for insurance discounts that offset their cost over time. Ask your insurance agent about credits for impact-resistant shingles, improved drainage systems, or documented maintenance programs.
Keep detailed roof maintenance records for future insurance purposes and resale value. A folder showing annual inspections, minor repairs, and contractor invoices demonstrates responsible ownership. When you file a claim, this history proves your roof was well-maintained before the flood, not already failing. When you sell, buyers pay more for homes with documented roof care. Address minor issues immediately rather than deferring until the next flood event. That loose shingle you noticed last month becomes an entry point for the next storm’s water. For broader home protection strategies that complement roof-specific measures, review Home Risk Reduction Tips to create a comprehensive flood resistance plan.
Final Words
Learning how to check roof damage after flood doesn’t end when you finish the inspection. It starts there.
The water has receded, but your work continues. Walk your property again tomorrow. Check those ceilings one more time. Keep an eye on spots you photographed.
Most flood damage reveals itself slowly over days, not hours. Stay alert for new stains, fresh odors, or surfaces that feel different.
You now have the steps to catch problems before they turn into bigger nightmares. That knowledge protects your home and your family long after this flood is over.
FAQ
What is the 25% rule in roofing?
The 25% rule in roofing refers to insurance and building code thresholds where if more than 25% of your roof surface is damaged, many jurisdictions and insurers require complete roof replacement rather than partial repairs to ensure structural integrity and weatherproofing.
How to check for roof damage after a storm?
To check for roof damage after a storm, start with a ground-level inspection walking your home’s perimeter using binoculars to examine shingles, gutters, and flashing, then check your attic and ceilings for water stains, damp insulation, or active leaks before considering safe roof access.
How do home inspectors look for roof damage?
Home inspectors look for roof damage by conducting systematic exterior assessments from ground level and roof surface, examining shingle condition and flashing, checking gutters for granule accumulation, inspecting attic spaces for moisture and structural issues, and documenting findings with detailed photos and measurements.
How much does a roof inspection cost in the US?
A roof inspection typically costs between $150 and $400 in the US for a basic assessment, though many roofing contractors offer free initial flood damage inspections, especially when insurance claims are involved or if you’re considering hiring them for repairs.
When should I stay off my roof completely after flooding?
You should stay off your roof completely after flooding if you notice visible sagging or soft spots, steep pitch, standing water, slippery surfaces, structural damage visible from ground level, or if you have health or mobility concerns that make climbing unsafe.
How quickly does mold grow after roof flood damage?
Mold grows within 24 to 48 hours after roof flood damage when moisture is present in hidden areas like attics, insulation, or ceiling cavities, making rapid documentation, temporary repairs, and moisture control critical to preventing health hazards and additional deterioration.
What protective equipment do I need for post-flood roof inspection?
For post-flood roof inspection, you need non-slip footwear, safety glasses, waterproof gloves, long sleeves, and respiratory protection if mold is suspected, since floodwater often contains sewage, chemicals, and bacteria that create serious health hazards.
Should I make permanent repairs before the insurance adjuster visits?
You should not make permanent repairs before the insurance adjuster visits, as this may affect claim processing, but you must make temporary repairs like tarping to prevent further damage, documenting everything with photos before and after for insurance purposes.
What are the five main roof inspection areas after flooding?
The five main roof inspection areas after flooding are exterior assessment from ground level, gutters and drainage systems, roof surface examination by material type, interior ceilings and living spaces, and attic evaluation for hidden moisture and structural issues.
How long do I have to file an insurance claim after discovering roof flood damage?
You typically have 24 to 48 hours to notify your insurance provider after discovering significant roof flood damage, though exact timelines vary by policy, and thorough documentation with photos, videos, and written logs strengthens claims and speeds the recovery process.