
When was the last time you checked if the emergency contacts in your phone are still current, and what happens if your phone dies or gets soaked when you need those numbers most? A wallet sized emergency contact card solves that problem by putting your critical information on a physical backup that works without batteries, signal, or passwords. These free printable templates give you ready to use designs that fold to business card size, fit in any wallet or purse, and include every field paramedics and emergency responders actually need to help you fast.
Access Your Free Emergency Contact Card Templates
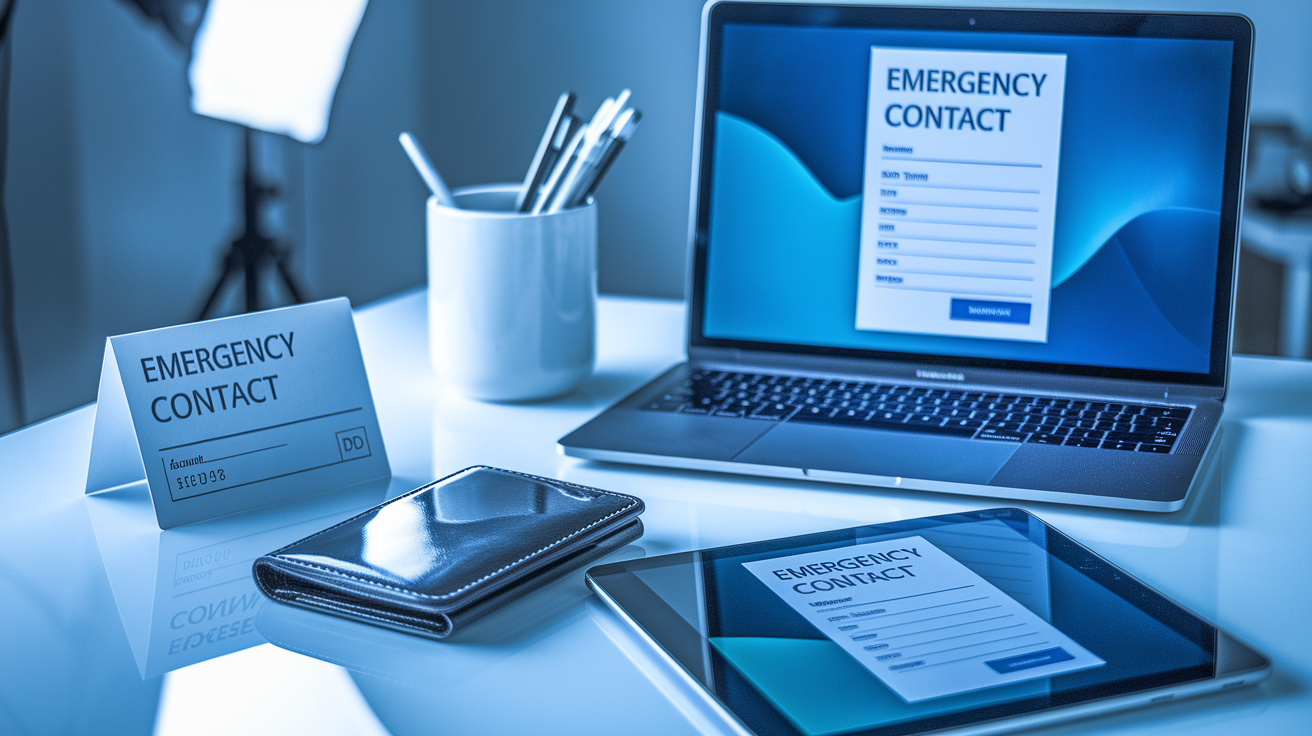
You can download ready-to-use emergency contact card templates right now in three formats that work with software you already have. These templates are completely free and designed to fold to wallet size, matching standard business card dimensions so they fit easily in your purse, wallet, or phone case.
[DOWNLOAD: PDF Template – Fillable Form]
[DOWNLOAD: Word Template – Editable Document]
[DOWNLOAD: Excel Template – Customizable Spreadsheet]
The PDF version works with any standard PDF reader and includes fillable fields you can type into directly. The Word and Excel templates require Microsoft Office 2007 or later, though they also work with free alternatives like Google Docs and LibreOffice. Each format gives you the same wallet sized emergency card template that folds to business card size when printed, plus a full page version you can post on your refrigerator if you want a home reference copy.
All three templates include customizable fields for your family’s specific emergency information. You can edit every section, add or remove fields, and save personalized versions for different family members. Print them at home on regular paper or cardstock, or take the file to a business center or office supply store where they can print and laminate your cards for a small fee. Self laminating card packs and luggage tag kits from dollar stores also work well if you want to protect the cards yourself without spending much.
Customizing and Printing Your Contact Card
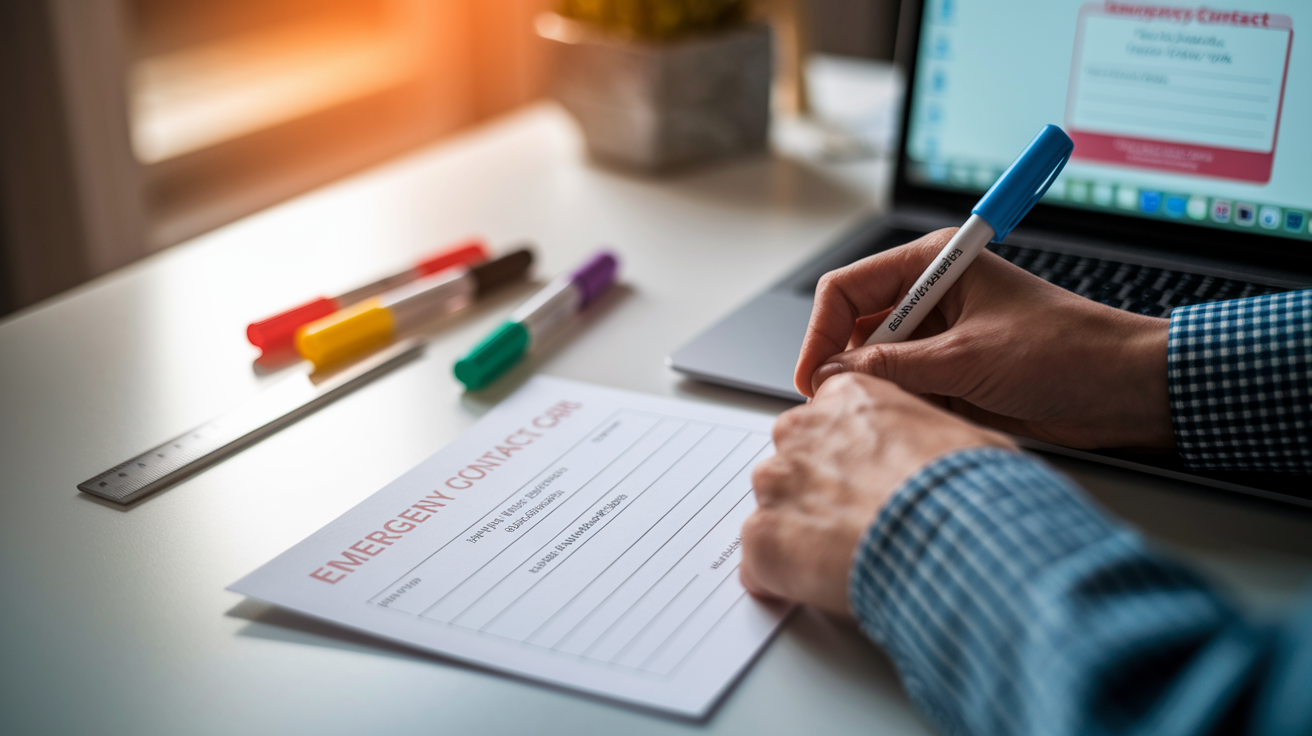
The process takes about 20 minutes from start to finished laminated cards. You’ll end up with durable emergency information that fits in your wallet and actually stays readable.
Step 1: Pick the template format that matches the software you’re comfortable using. If you just need to fill in blanks without changing the layout, grab the PDF. If you want to rearrange sections or adjust the design, choose Word or Excel.
Step 2: Fill in every field with your current, accurate information. Don’t leave blanks on critical sections like ICE contacts and medical allergies. Double check phone numbers by reading them out loud. A single wrong digit makes the whole card useless in an emergency.
Step 3: Set your formatting before you print. Keep the business card size dimensions as designed in the template. Decide if you need single sided (simpler, less information) or double sided (more details, slightly harder to print at home). Use 12 point Times New Roman font, which stays readable even when the card is folded and someone’s squinting at it in bad light or while stressed.
Step 4: Print one test copy on regular printer paper first. Hold it up to a real credit card or business card to verify the size matches. Fold it where the template indicates. Make sure you can read everything without glasses if you normally wear them. Check for typos one more time, because you’re about to laminate this.
Step 5: Print your final versions on heavier cardstock paper if you have it, or regular paper if that’s what you’ve got. Print at least four copies so you can distribute them in different bags and locations. Then laminate them using self laminating pockets, pressing slowly from the center outward to avoid wrinkles and bubbles.
If you’re making cards for multiple family members, consider color coding them by printing each person’s card on different colored cardstock before laminating. Put all the kids’ emergency details on blue, yours on white, your spouse’s on tan. It makes grabbing the right card faster when you’re trying to help someone while also managing a crisis. You can also organize information differently on the front versus the back, putting ICE contacts and allergies on the front where they’re fastest to find, then insurance and secondary contacts on the back.
For protection, those small self laminating pockets from the dollar store work surprisingly well if you press them down carefully without trapping air bubbles. Start in the middle and smooth outward with something flat like a credit card edge. If that sounds annoying or you want a cleaner finish, office supply stores and business centers will print and laminate everything for you for a couple of dollars per card. Their equipment handles color printing and double sided layouts easily. Some people skip lamination entirely and just slip the printed card into a plastic sleeve or badge holder, which also works and makes it easier to swap in updated information later.
Complete Your Emergency Contact Card: Required Fields
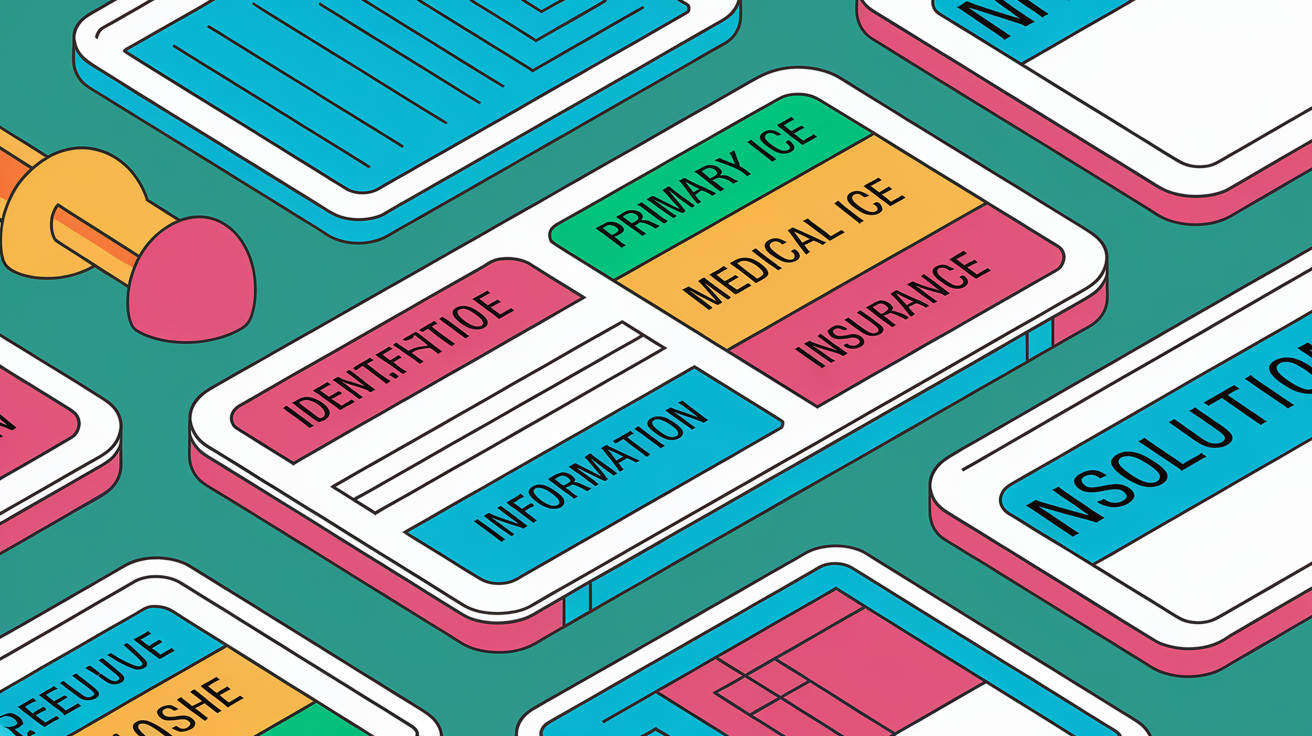
Every emergency contact card needs three types of information: who you are, who to call, and what responders need to know about your health. Miss any of these and the card loses most of its value when someone actually needs to use it.
Personal Identification and Primary Contacts
Start with your full legal name, home address, date of birth, and phone number. If you travel internationally, add your citizenship and passport number so consular services can help you faster. Then list your primary ICE contact with their full name, relationship to you (spouse, parent, adult child, close friend), and at least two phone numbers. Not just one. Include a mobile number and either a work number or home landline, because if one line is busy or out of range during a disaster, the second one might get through.
Add a secondary ICE contact using the same format: name, relationship, multiple phone numbers. Pick someone who lives in a different area if possible, because local disasters can knock out your primary contact’s phone service too. If you work, include your workplace contact information and your supervisor’s name and number. Write down your designated meeting place, which is the physical address where your family plans to reunite if you get separated during an evacuation. That might be a relative’s house two towns over, a specific parking lot, or a community shelter you’ve all agreed on ahead of time.
Medical Information and Healthcare Details
List any chronic medical conditions first, like diabetes, asthma, epilepsy, or heart disease. Then write out your allergies in plain language, especially medication allergies, because that’s what keeps ER doctors from accidentally giving you something dangerous. If you can’t take specific medications, write “CANNOT TAKE:” and list them clearly. Add your current prescription medications with dosages if there’s room, or at least the names of the medications.
Put your blood type in brackets right next to your name at the top of the card, like this: “Taylor Chen [O+]” so it’s the first thing a paramedic sees. Write down your primary care physician’s name and phone number, and if you see specialists regularly (cardiologist, endocrinologist, oncologist), add their contact information too. Finish the medical section with your health insurance details: company name, policy number, and the claims department phone number or the general customer service line printed on the back of your insurance card.
Specialized Variations for Family Members
Children’s emergency contact cards need parent or legal guardian information first, including work and mobile numbers for both parents if applicable. Add the pediatrician’s name and contact information, the name of the child’s school or daycare with the main office number, and any specific medical directions the parents want followed (like “always call mom first” or “dad has medical power of attorney”). If the child has a severe allergy, write it in all caps and consider adding it to the front of the card where it’s harder to miss.
Elderly parents or family members with complex medical needs should have cards that list their primary caregiver, all current medications (or “see attached list” if it’s too long for the card), and the names and numbers of each specialist they see regularly. If they have a healthcare proxy or medical power of attorney assigned, put that person’s name and relationship on the card with clear labels. For employees, tenants, students, or babysitting situations, the card format adjusts slightly to include employer information, landlord contacts, school administration offices, or the parent’s contact details and return time. The core information stays the same. You just shift who gets called first based on the context where the card will be used.
| Information Category | Critical Details to Include |
|---|---|
| Personal Identification | Full legal name, date of birth, home address, phone number, citizenship, passport number (for travelers) |
| Primary ICE Contact | Name, relationship, mobile number, secondary number (work or home) |
| Secondary ICE Contact | Name, relationship, multiple phone numbers, preferably in different geographic area |
| Medical Conditions | Chronic conditions, current medical diagnoses, blood type in brackets next to name |
| Allergies and Restrictions | Drug allergies, food allergies, medications patient cannot take |
| Current Medications | Prescription medications with dosages, or note “see attached list” |
| Healthcare Providers | Primary care physician, specialists, pediatrician (for children), with phone numbers |
| Insurance Information | Company name, policy number, claims or customer service phone number |
Where to Keep Your Emergency Contact Cards

Print at least four copies of your laminated card and distribute them so you’re never more than an arm’s length from your emergency information when something goes wrong. Keeping one card in your wallet is obvious, but that’s also the item most likely to get lost, stolen, or left behind when you’re rushing out the door during an evacuation.
Put one card on your refrigerator using a magnet. That’s where paramedics and firefighters often check first when they enter a home during a medical emergency. Tape another inside your glove compartment, because car accidents and roadside emergencies happen away from home and your wallet might end up somewhere you can’t reach it. If you keep an emergency kit in your garage or hall closet, add a card there too. For people who commute or travel frequently for work, slip a card into your work badge holder or the pocket of your daily carry backpack.
Employers often require you to fill out an emergency contact form as part of workplace safety compliance, which gives them the legal agreement they need to authorize medical examination if you get injured on the job. Keep a copy of your card at your office desk and make sure your supervisor has access to your updated emergency contact information in the company system. If your job involves physical risk (construction, warehousing, field work), your employer has a responsibility to be able to reach your emergency contacts fast, so double check that their records match your current details.
Travelers should distribute cards across multiple bags and pockets so if your main luggage gets lost, you still have emergency information accessible. Tuck a card into your passport sleeve, another in your travel wallet, and a third in the outer pocket of your carry on bag. Put one in the small pocket inside your coat or jacket, and another in your phone wallet case if you use one. If you wear a security belt or money belt while traveling, add a card there too. The goal is to make sure that if you’re unconscious, injured, or just too confused to communicate, a traveling companion, first responder, or even a helpful stranger can find your emergency contact information without digging through all your belongings. This matters especially during international travel when you might need consular assistance, have lost your credit cards, or need someone back home notified about a medical emergency abroad.
Give copies to the people listed as your emergency contacts and to close family members who should have your information even if they aren’t your primary ICE contact. If you have older children or a co parent, make sure they know where you keep your cards and have their own copies. The balance is between keeping the information secure (don’t post it publicly or leave it somewhere an identity thief can grab it) and making sure it’s accessible enough that the right people can find it within seconds when those seconds count.
Strategic placement locations:
- Wallet or purse (main card carrier)
- Refrigerator (visible to emergency responders)
- Vehicle glove compartment (for car accidents and roadside emergencies)
- Home emergency kit or go bag
- Work desk or office filing cabinet
- Travel wallet and passport sleeve
- Phone wallet case pocket
- Carry on bag outer pocket
- Security belt or money belt (for travelers)
- Coat or jacket interior pocket
Keeping Contact Card Information Current and Updated

Set a reminder to review your emergency contact cards at least once a year, and update them immediately whenever something major changes in your life. That includes moving to a new address, changing jobs, switching insurance providers, getting diagnosed with a new medical condition, or if one of your listed emergency contacts moves away or changes their phone number.
Call or text your emergency contacts once a year to confirm they still have the same phone numbers and that they’re still willing to be your ICE contact. People change mobile carriers, get new numbers, or move out of state. You don’t want to discover during an actual emergency that the number on your card has been disconnected for six months. Verify that your emergency contacts understand what you’re asking them to do, which might include making medical decisions on your behalf, talking to doctors, or traveling to a hospital in a crisis.
Insurance policy numbers change every time you renew, switch providers, or adjust your coverage. If you have laminated cards and don’t want to reprint them every year, leave a small blank space in the insurance section where you can use tape to stick an updated policy number directly onto the card without redoing the whole lamination process. Update your medication list whenever your doctor adds, removes, or changes a prescription. If you develop a new allergy, add it to the card right away because that’s the kind of detail that saves your life in an ER. Set the same annual reminder to update cards that you use for renewing your vehicle registration or scheduling your dental checkup, something routine that you’ll actually remember to do.
Final Words
Your emergency contact card template only works when it’s filled out, printed, and actually in your wallet.
Pick the format that matches your software. Fill in every field. Print it on good cardstock and laminate it so water can’t destroy it when you need it most.
Make a few copies. Put one in your car, one in your go bag, one with your travel documents.
Update it when phone numbers change or medications shift. A current card gives first responders what they need fast.
You just built a simple backup that could make all the difference.
FAQ
What information should I include on an emergency contact card?
An emergency contact card should include your full name, home address, date of birth, at least two ICE contacts with multiple phone numbers, blood type, allergies, current medications, medical conditions, primary care physician contact, and insurance policy details including the claims department number.
How do I make my emergency contact card waterproof?
You can make your emergency contact card waterproof by using self-laminating pockets from dollar stores and pressing carefully to avoid bubbles, or by taking your printed card to an office supply store for professional lamination service for a small fee.
What size should I print my emergency contact card?
You should print your emergency contact card at business card size when folded so it fits easily in your wallet. Most templates fold to standard wallet insert dimensions, approximately 3.5 by 2 inches, making them portable and convenient to carry daily.
How often should I update my emergency contact card?
You should update your emergency contact card at least once a year or immediately after major life changes like moving, changing jobs, new medical diagnoses, medication changes, or when emergency contact phone numbers change to ensure accuracy during emergencies.
Where should I keep copies of my emergency contact card?
You should keep emergency contact card copies in your wallet, glove compartment, passport sleeve, work desk, refrigerator at home, travel bags, phone case pocket, and with designated emergency contacts so first responders can locate your information if you cannot communicate.
Can I customize the emergency contact card template for my children?
Yes, you can customize emergency contact card templates for children by adding parent or legal guardian information, pediatrician contacts, specific medical attention directions from parents, childcare provider details, and school emergency requirements on individualized cards for each child.
What font size works best for emergency contact cards?
A 12-point Times New Roman font works best for emergency contact cards because it provides clear readability on the small business card format while fitting essential information without crowding, making details easy to read quickly during stressful situations.
Do I need different emergency contact cards for work and travel?
You need the same core information for work and travel cards, but work cards must meet employer medical examination requirements while travel cards should include passport number, citizenship, consular contacts, and trip-specific insurance policy numbers in accessible travel document locations.
How many emergency contacts should I list on my card?
You should list at least two emergency contacts on your card with multiple phone numbers for each person, not just one number, including their relationship to you and confirming they are willing and readily available to accept responsibility during emergencies.
What medical information is most critical on an emergency contact card?
The most critical medical information includes allergies, medications you cannot take, current prescription medications with dosages, chronic conditions, blood type in brackets next to your name, and your primary care physician contact so medical professionals can treat you safely.