
Most families wait until the evacuation order comes to figure out where they’ll go and what they’ll take. By then, roads are jammed, stores are stripped bare, and fear makes it hard to think straight. Creating a family flood evacuation plan now, when the weather is calm, gives you something most people won’t have when floodwater starts rising: a clear next step. This guide walks you through building a practical plan that works for real families with real constraints, from finding your safe routes to packing the supplies that actually matter when you need to leave fast.
Essential Components of Your Family Flood Evacuation Plan
Flash floods can turn a normal morning into a life-threatening emergency in less than 30 minutes. Just 6 inches of moving water can knock you off your feet, and 12 inches can sweep away most vehicles. That’s why having a family flood evacuation plan isn’t something you can figure out when warnings start blaring.
Before you dive into detailed planning, focus on three critical actions that form the foundation of any evacuation plan. These steps take less than an hour but create the framework that could save your family’s life.
3 essential first steps to start your family flood evacuation plan:
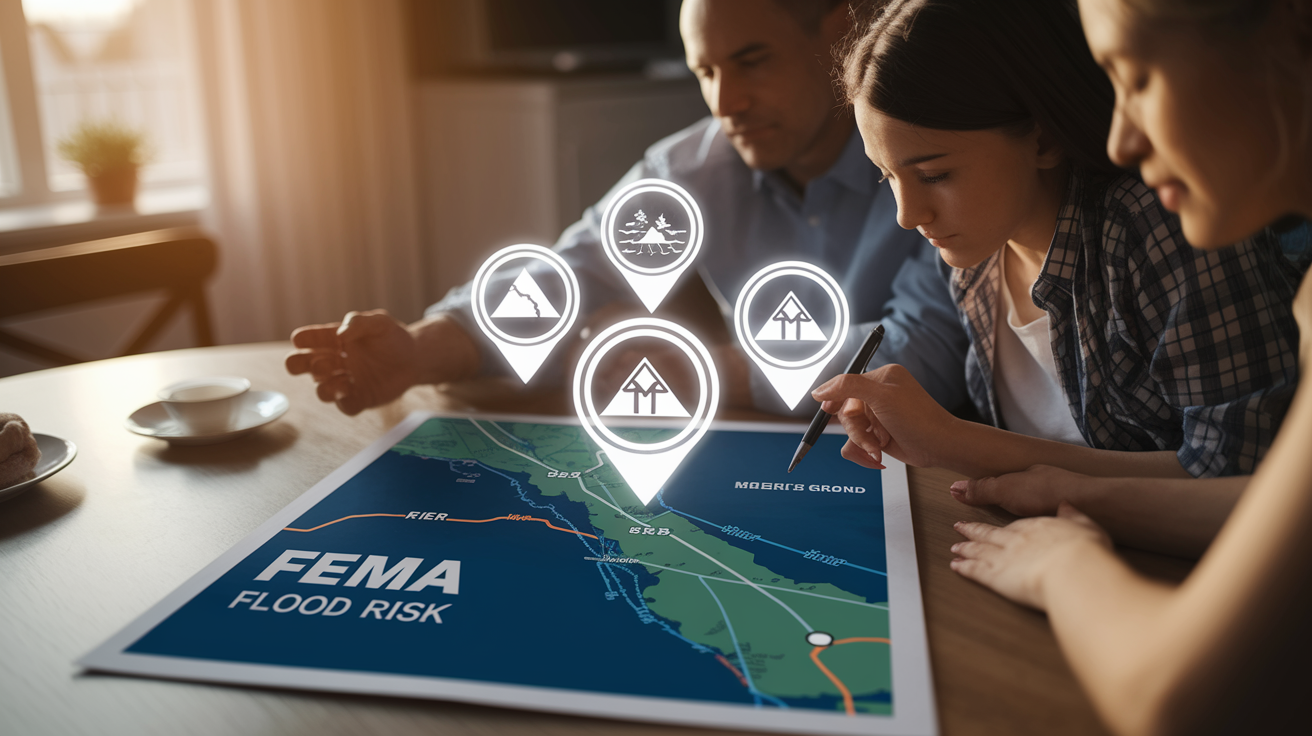
- Check if you live in a flood zone using FEMA flood maps
- Identify your nearest evacuation route that leads to higher ground
- Establish one primary meeting place outside your neighborhood
The sections that follow will walk you through each planning component in detail, from assessing your specific flood risk to packing emergency supplies and coordinating with neighbors. The key is involving every family member in the planning process. When everyone knows the plan, understands their role, and has practiced the steps, your family can move quickly and calmly when seconds matter. Even young children can learn their meeting place address and what to grab from their room when it’s time to leave.
Understanding Your Flood Risk and Zone Assessment
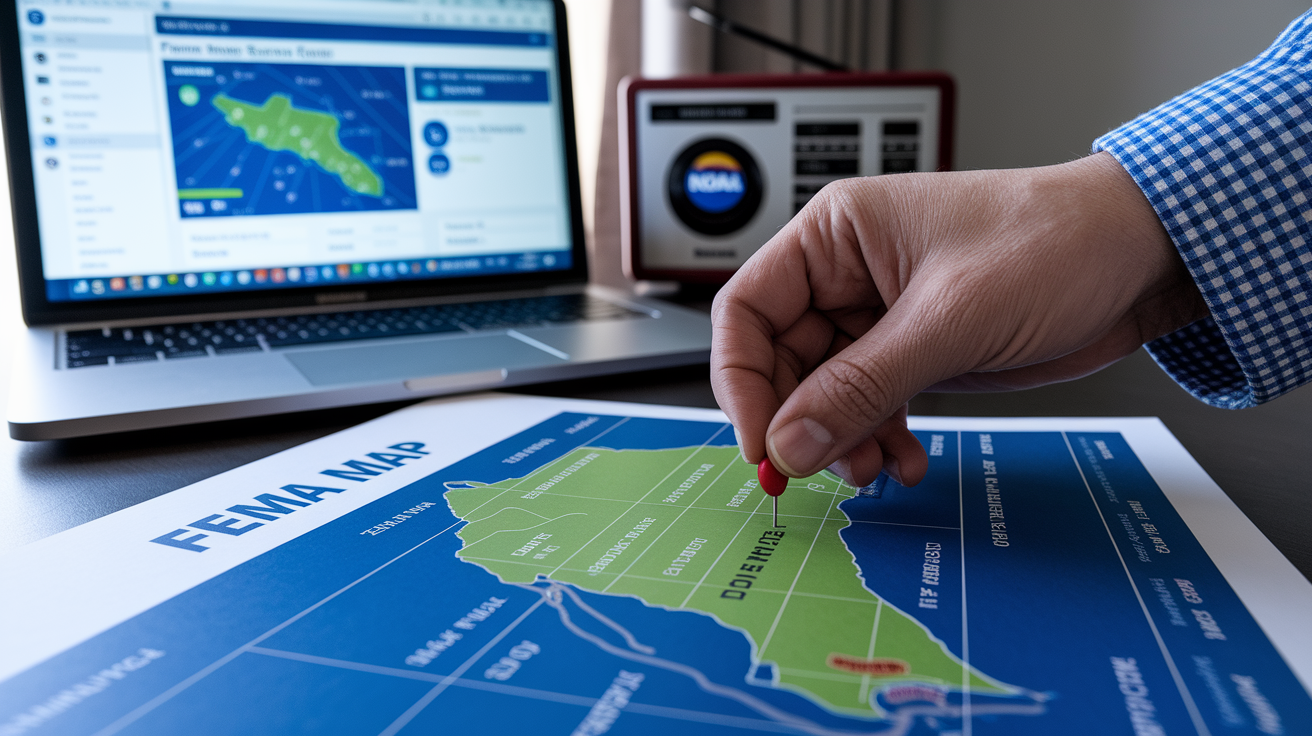
FEMA flood maps show exactly where flooding is most likely to happen in your area. Visit the FEMA Flood Map Service Center online and type in your address. The map will show if you’re in a high-risk zone (usually marked as Zone A or Zone AE) or a moderate-risk zone (Zone X). High-risk zones have a 1 in 4 chance of flooding during a 30-year mortgage. Moderate-risk zones still flood, just less frequently. While you’re researching, check with your local emergency management office about past flood events in your neighborhood. Where did water go? How high did it rise? This history tells you what to expect.
Understanding your zone helps you know how much warning time you might have. Homes in high-risk zones near rivers or streams need faster evacuation plans because water can rise quickly after heavy rain. Moderate-risk zones might give you a few more hours, but flash flooding can still happen anywhere if storms dump enough rain. Your zone classification also affects when authorities might issue evacuation orders for your area. High-risk zones typically get mandatory evacuation orders earlier.
Sign up for every emergency alert system your community offers. Most counties send flood warnings through text messages, email, and automated phone calls. Download your local emergency management app if one exists. Keep a battery-powered NOAA weather radio in your home because it works even when cell towers fail or power goes out. Learn the difference between a flood watch and a flood warning. A watch means flooding is possible based on weather conditions. A warning means flooding is already happening or will happen very soon. When you hear “warning,” it’s time to act on your evacuation plan immediately, not wait to see what happens.
Mapping Primary and Secondary Evacuation Routes
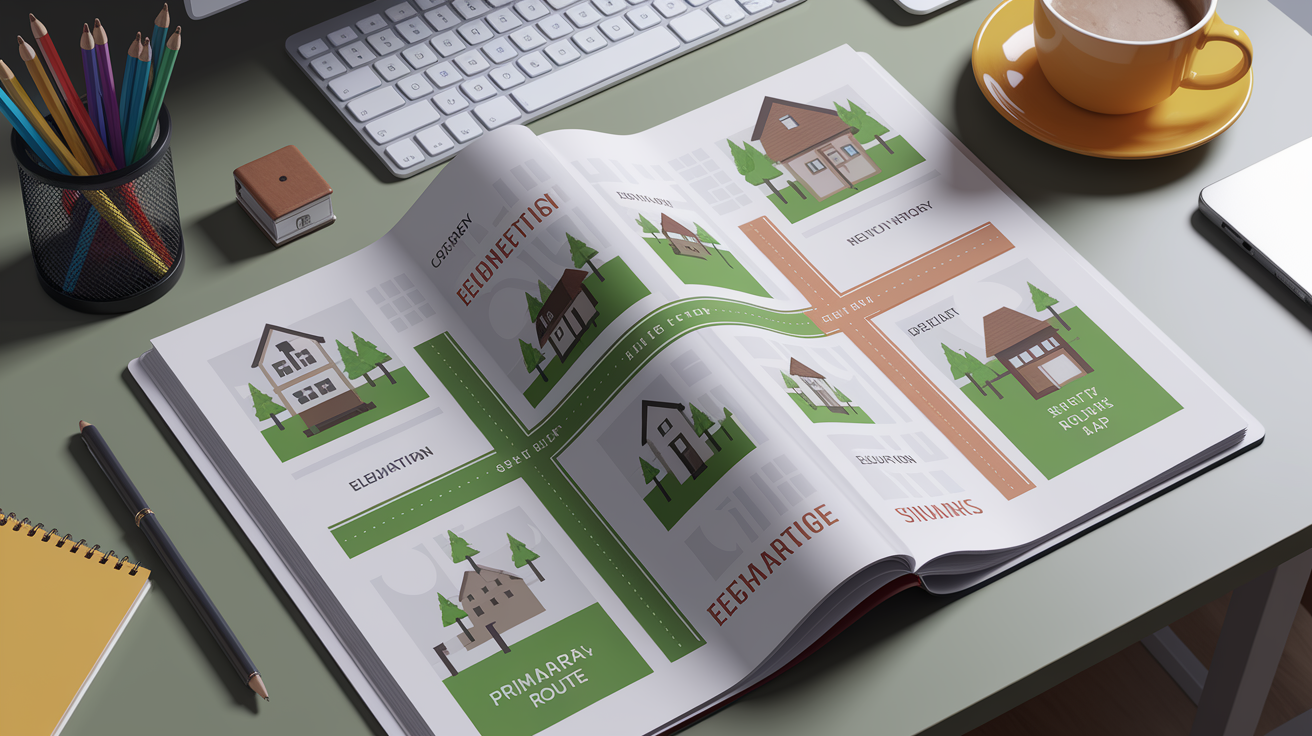
Planning just one way out leaves your family stuck when that road floods or traffic backs up for miles.
Identify at least two routes that lead away from your home in different directions. Open a map and trace paths that move uphill or toward higher ground. Mark roads that stay elevated and avoid dips, low crossings, and areas near creeks or drainage channels. If you live near a river, plan routes that move away from the water, not parallel to it. Your primary route should be the fastest path to safety under normal conditions. Your secondary route might take longer but provides an alternative if your first choice becomes blocked.
6 route planning considerations:
- Avoid low lying roads and areas with poor drainage
- Identify routes that avoid bridges over fast moving water
- Mark high elevation roads on your map
- Note alternative paths if main roads close
- Identify fuel stations along each route
- Test drive routes during non-emergency conditions
Keep your vehicle’s gas tank at least half full all the time, and top it off completely when weather forecasts show heavy rain coming. Evacuation routes get congested fast, and you might need to take a longer path or sit in slow moving traffic for hours. Running out of fuel during an evacuation puts your family in danger. If you don’t own a vehicle, arrange transportation now with a family member, neighbor, or friend who can pick you up. Contact your local emergency management office about public evacuation assistance. Some communities provide buses or transportation for residents without cars, but you typically need to register in advance.
Designating Safe Meeting Places for Your Family

Your family needs two meeting locations. The first is somewhere close to home, like a neighbor’s front porch, a specific tree in your yard, or the corner mailbox. This spot helps you reunify quickly if family members are scattered around the house or yard when evacuation starts. The second meeting place sits outside your neighborhood in a location that won’t flood, like a library, shopping center, or relative’s house on higher ground.
Choose locations that everyone can reach without crossing flood prone areas. Never pick a meeting spot in a low area, near a creek, or in a parking lot that might become a lake.
Your evacuation destination is different from a meeting place. This is where you’ll stay for hours or days while waiting for floodwaters to recede. Research community shelters operated by local emergency management or the Red Cross and find out which ones accept pets if you have animals. Identify at least two hotels or motels located 20 to 50 miles away in different directions, and note if they allow pets. Talk with relatives or friends in nearby towns about staying with them during emergencies. Having multiple destination options means you can adjust based on which direction has the clearest roads and safest conditions when evacuation orders come.
Everyone in your household needs to memorize both meeting places and know the addresses of your evacuation destinations. Kids should be able to tell a first responder or another adult where the family meeting spot is located.
Establishing Emergency Communication and Contact Protocols

When disasters hit, local phone networks get overwhelmed as everyone tries to call family at the same time. Calls that stay within the affected area often fail to connect, but long distance calls to other states might go through. That’s why every family needs one out of town emergency contact, someone who lives far enough away that they won’t be affected by the same flood.
Choose a relative or close friend in another state or at least several hours away. Give everyone in your family this person’s phone number. When you evacuate, each family member calls or texts this contact to report where they are and that they’re safe. The out of town contact becomes your communication hub, relaying messages between family members if direct communication fails. Keep their number written down in wallets, backpacks, and posted in your home, not just stored in phones that might die or get lost. For more guidance on selecting and coordinating with emergency contacts, see Emergency Contact Planning Tips.
During evacuation, text instead of calling whenever possible. Text messages use less bandwidth and often get through when voice calls won’t connect. Before you leave home, notify your neighbors that you’re evacuating and where you’re headed. Tell your out of town contact which route you’re taking and your planned destination. If your route changes because of road closures or flooding, send an update as soon as possible. Keep phone chargers in your evacuation kit, including car chargers and portable battery packs, because phones die fast when you’re constantly checking weather updates and traffic conditions.
After you reach your safe location, immediately contact your out of town emergency contact to confirm arrival. Post a status update on social media if you use it, letting friends and extended family know you’re safe. This reduces the number of individual calls and messages you need to handle. Continue monitoring NOAA weather radio or local news for updates about your area. Keep your out of town contact informed if you move to a different location or if your return timeline changes.
| Communication Method | Priority Level | When to Use |
|---|---|---|
| Text messaging | Primary | First contact method during evacuation and emergencies |
| Out of town contact calls | Primary | When texting fails or for detailed information sharing |
| Social media updates | Secondary | Broadcasting status to multiple people at once |
| Emergency radio | Backup | When cell service and power are unavailable |
| Neighbor relay | Backup | When technology fails and you need to pass messages |
Building Your Evacuation Kit and Emergency Supplies
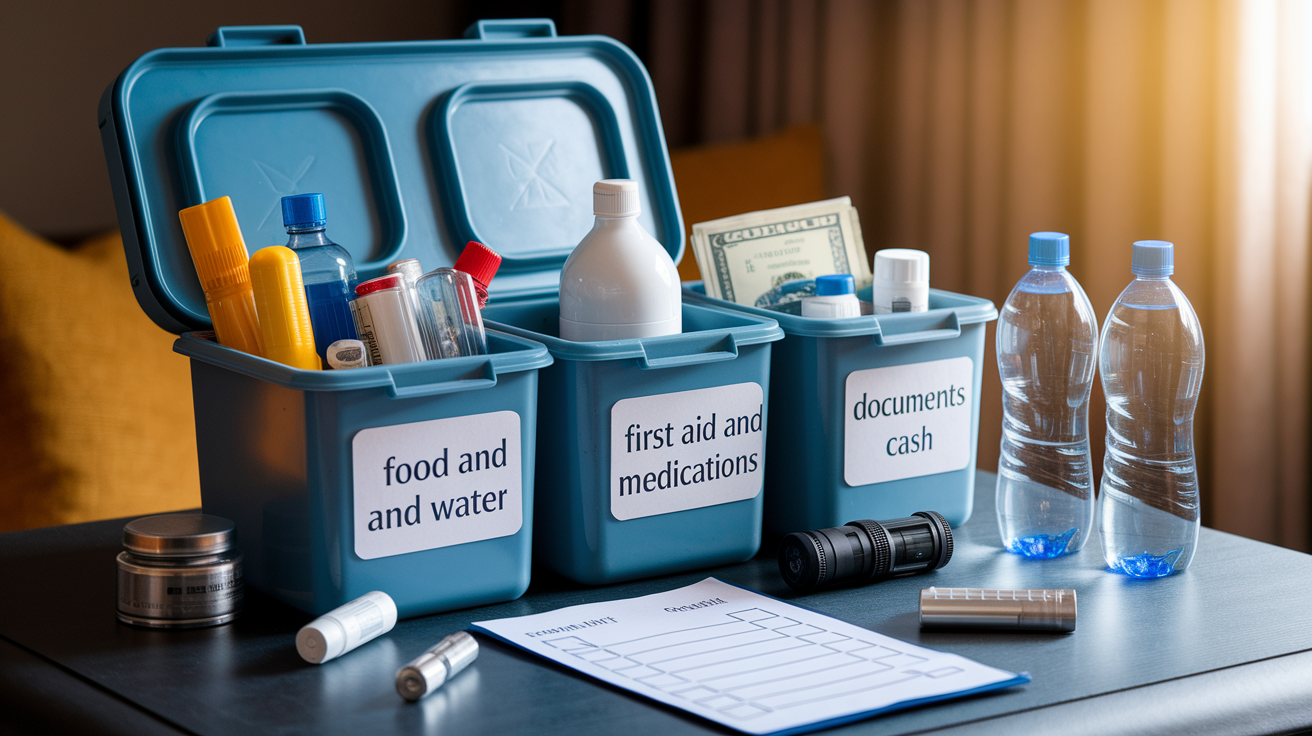
A 72 hour kit contains everything your family needs to survive for three days without access to stores, utilities, or outside help.
Store all supplies in waterproof containers or heavy duty plastic bags. Water ruins documents, spoils food, and damages electronics fast. Use sealed plastic bins with tight lids for your main kit. Put critical documents and electronics in zip top freezer bags inside the bins for double protection. Organize supplies so you can grab the bins and load them in your vehicle in under five minutes. Label each container clearly with contents like “Food and Water,” “First Aid and Medications,” or “Documents and Cash.”
12 essential evacuation kit items:
- Water (1 gallon per person per day for 3 days)
- Non perishable food (3 day supply)
- First aid kit with prescription medications
- Important documents in waterproof container
- Cash and credit cards
- Flashlights and extra batteries
- Battery powered or hand crank radio
- Mobile phone chargers and backup power
- Change of clothing and sturdy shoes
- Emergency blankets
- Personal hygiene items
- Copies of insurance policies
Keep one week’s worth of cash in small bills stored in your evacuation kit. ATMs stop working when power fails, and many stores won’t accept credit cards without electricity. Banks might be closed for days after a flood. Store your kit in a location everyone can access easily, like a hall closet or garage shelf near the door you’ll use to evacuate. Check your supplies every six months, replacing expired food, water, medications, and batteries. Update clothing sizes as kids grow and adjust supplies when family needs change.
Special Planning for Children, Elderly, and Pets

Some family members need extra planning because standard evacuation supplies and procedures don’t cover their specific needs.
Evacuation Planning for Young Children
Talk with kids about flooding in simple terms they understand without making them anxious. Explain that sometimes too much rain makes water rise, and when that happens, the family has a plan to go somewhere safe together. Let them help pack their own small backpack with a comfort item like a stuffed animal, small toy, or blanket. Include extra snacks kids actually like, because familiar food helps during stressful times. Write your child’s name, your phone number, and your out of town contact’s information on a card and put it in their pocket or backpack. If you have infants or toddlers, pack diapers, formula, baby food, bottles, and any special supplies. Keep car seats in vehicles, not in the garage or basement where they might get wet or become inaccessible.
Considerations for Elderly and Disabled Family Members
Seniors and family members with disabilities need customized evacuation plans that account for mobility limits, medical equipment, and medication schedules. If someone uses a wheelchair, walker, or cane, make sure your evacuation vehicle can accommodate the equipment. Pack extra batteries for hearing aids, oxygen equipment, or powered wheelchairs. Keep a detailed medication list with dosages, frequencies, and prescribing doctors. Store at least a two week supply of all medications in your evacuation kit, more if possible. Coordinate with home health aides or caregivers about evacuation plans so everyone knows the procedure. If medical equipment requires electricity, identify which shelters or hotels have generator power, and consider bringing a portable generator if your vehicle can transport one safely.
Pet Evacuation Preparations
Never leave pets behind during evacuation. They’re family members too, and they depend on you completely. Prepare a pet emergency kit with three days of food and water, bowls, leash or carrier, medications, and vaccination records in a waterproof bag. Keep a current photo of each pet on your phone and printed in your kit in case you get separated and need to prove ownership or post found pet notices. Attach ID tags to collars with your cell phone number and your out of town contact’s number. Research pet friendly shelters, hotels, and boarding facilities along your evacuation routes before disaster strikes. Many emergency shelters don’t accept pets, but some communities operate separate pet friendly shelters. Call hotels in your evacuation destinations to confirm pet policies and any size restrictions. Keep cat carriers and dog crates accessible, not buried in storage where you’ll waste precious minutes digging them out during evacuation.
Home Preparation Before Evacuating

If time permits before you leave, turn off utilities to prevent additional damage and fire hazards. Shut off natural gas at the meter if you smell gas or if authorities instruct you to do so, but only if you know how and can do it safely in under a minute. Flip your main electrical breaker to off position if water is rising near your home or already inside, because water and electricity create deadly shock hazards. Leave your water main on unless specifically told to shut it off by emergency officials. Unplug small appliances, electronics, and computers to protect them from power surges when electricity comes back on.
Move important items to upper floors if you have a two story home and time allows. Carry furniture, electronics, family photos, and valuable possessions upstairs away from rising water. Don’t spend more than 10 or 15 minutes on this because your safety matters more than stuff. Take photos or quick video of each room and your belongings before you leave for insurance claims later. These pictures prove what you owned and document the condition of your home before flooding. Store these images in cloud storage or email them to yourself so they’re accessible even if your phone gets damaged.
Lock all doors and windows before you leave. Close and secure garage doors. This won’t stop floodwater, but it helps prevent theft and keeps floating debris from breaking windows and causing more damage inside. Tell your neighbors you’re leaving and where you’re going if possible. They can watch your property and report major problems to authorities. Leave refrigerators and freezers plugged in unless water is already inside your home or you’re in a flood prone area where water will definitely reach outlets. A plugged in freezer keeps food frozen longer if power comes back quickly.
Coordinating With Neighbors and Community Resources

Establish a buddy system with one or two neighbors, especially if you live near elderly residents or people with disabilities. Agree that when evacuation orders come, you’ll check on each other before leaving to make sure everyone got the warning and has a way out. Exchange phone numbers and know which neighbors might need transportation help or assistance gathering their pets.
Before you evacuate, knock on your buddy’s door or send them a quick text saying you’re leaving. Tell them which route you’re taking and where you’re headed. This simple notification can save lives because if something goes wrong during your evacuation, someone knows you left and can tell emergency responders.
Research your community shelter locations now, before you need them. Contact your local Red Cross chapter or emergency management office for a list of shelters that open during floods. Drive by these locations so you know exactly how to get there. Check which shelters accept pets and which ones have generator power for medical equipment. Download the Red Cross Emergency app to find open shelters during active disasters.
When authorities issue evacuation orders, follow them immediately. Officials order evacuations based on flood modeling, weather forecasts, and dam conditions you can’t see from your home. Mandatory evacuation means you need to leave now. Voluntary evacuation means officials believe the threat is serious enough that you should consider leaving, especially if you have young children, elderly family members, medical conditions, or pets. Don’t wait for mandatory orders if conditions are worsening quickly.
Evacuation Timing and Safe Departure Procedures

Understanding the difference between evacuation order types helps you make better decisions about when to leave. A flood watch means conditions are right for flooding to develop, but it hasn’t started yet. This is your early warning to review your plan, pack your vehicle, fill the gas tank, and prepare to move quickly. A flood warning means flooding is happening now or will happen very soon. When warnings are issued for your area, start your evacuation immediately if you’re in a flood prone zone. A mandatory evacuation order means authorities have determined that staying puts your life at serious risk, and you must leave the area now using designated routes.
| Order Type | Meaning | Recommended Action |
|---|---|---|
| Flood Watch | Flooding is possible within 24 to 48 hours | Review plan, prepare supplies, monitor weather closely |
| Flood Warning | Flooding is occurring or will occur very soon | Begin evacuation immediately if in flood prone area |
| Mandatory Evacuation | You must leave now because staying risks your life | Leave immediately using designated routes |
Leave early before conditions get bad. Early evacuation means lighter traffic, safer roads, and more destination options.
Keep your family together during the entire evacuation process. Assign one adult to account for all family members and pets before getting in the vehicle. Don’t let anyone go back inside for forgotten items once you’ve started loading the car. Follow your planned primary evacuation route unless emergency broadcasts direct you to use alternate paths. Avoid shortcuts or routes you haven’t practiced, because you might not know where they flood or if bridges are safe. Stay calm and drive carefully. Rushing leads to accidents that put you and other evacuees in danger.
Never attempt to drive through water covering the road, even if it looks shallow. Just 12 inches of rushing water can carry away most cars, and 18 inches will sweep away large SUVs and trucks. You can’t see what’s under the water. The road might be washed out, creating a sudden drop off that will trap your vehicle. Watch for washed out roads, collapsed bridges, and downed power lines blocking your path. If you encounter these hazards, turn around and use your alternate route. Monitor your weather radio or local stations for updated evacuation instructions and reports of road closures. Call or text your out of town contact once you’re safely on the road and again if your route or destination changes.
7 safety rules during evacuation:
- Stay together as a family unit at all times
- Follow your planned evacuation route
- Never drive through standing or moving water
- Watch for washed out roads and bridges
- Avoid downed power lines
- Monitor weather radio for updated instructions
- Notify your out of town contact when departing
What to Do After Reaching Your Safe Location
As soon as you arrive at your evacuation destination, contact your out of town emergency contact to report that everyone arrived safely. Text or call each family member who evacuated separately to confirm they also reached safety. Account for all pets and check that everyone has what they need for the first few hours, including any medications someone needs to take soon. Take a breath. You made it to safety, and that’s the most important thing.
If you’re staying in a hotel or with relatives, unpack the essentials your family needs for the first night. Establish a temporary routine as quickly as possible, especially for young children who find comfort in familiar patterns like regular meal times and bedtimes. Set up a charging station for all phones and devices so everyone stays connected. Designate a quiet space where family members can decompress from the stress of evacuation. Remember that kids might need extra reassurance, and some family members process stress by talking while others need quiet time.
Continue monitoring NOAA weather radio, local news, and your community’s emergency alert system for updates about your area. Don’t return home until local authorities officially announce that it’s safe. Roads might still be flooded or damaged even after rain stops. Downed power lines create electrocution hazards, and floodwater often contains sewage and chemicals that make it unsafe to wade through. Wait for the all clear message before you start the trip back, even if you’re anxious to check on your home and belongings.
Practicing Your Evacuation Plan With Family Drills
Plans only work if everyone knows them and has practiced the steps.
Schedule family meetings twice a year to review your evacuation plan. Spring and early fall work well because they come before typical flood seasons in most areas. Gather everyone around the table and walk through each part of the plan step by step. Show kids where evacuation supplies are stored. Quiz family members on meeting places, evacuation routes, and the out of town contact’s phone number. Let each person ask questions about parts of the plan they don’t understand or remember clearly.
Run an actual evacuation drill where you time how long it takes your family to gather supplies, load the vehicle, and leave the house. Set a timer and see if you can be out the door in 10 minutes. Assign specific responsibilities to each family member based on age and ability. One adult gathers important documents and medications. The other adult loads the vehicle with supply kits. Older kids can be responsible for gathering pets and their supplies. Younger children can grab their pre packed backpack and help count family members. Practice makes these tasks automatic so you won’t forget critical steps when stress levels are high during a real evacuation.
Discuss what worked smoothly and what problems came up during your drill. Maybe the supply bins were too heavy to carry quickly, or someone couldn’t find the pet carrier. Fix these issues now and run another drill in a few months to test your improvements.
Maintaining and Updating Your Family Evacuation Plan
Family situations change, and your evacuation plan needs to change with them.
Review your complete plan at the start of each flood season or at minimum once per year. Check expiration dates on all food, water, and medications in your evacuation kit. Replace anything that’s expired or will expire in the next six months. Test your flashlights and weather radio to make sure batteries still work. Replace dead batteries and add fresh ones to your supply. Check that all documents in your kit are current, including insurance policies, medical records, and contact lists.
Update emergency contact lists whenever someone’s phone number, address, or email changes. Review your evacuation routes to see if new construction has changed traffic patterns or if road work has created detours you need to know about. Check if any bridges along your routes have been closed or weight limits reduced. Update your meeting places if a designated location no longer exists or if your family’s routine has changed in ways that make a different location more practical. If kids changed schools, moved to different daycare, or started new activities, adjust your plan to account for where they’ll be during weekday emergencies.
Consider seasonal factors that might affect your evacuation. Winter floods require warmer clothing and supplies for cold weather. Summer evacuations need extra water and sun protection. If family members have moved away to college, update your plan to reflect who will still be home and who needs separate planning at their new location. When new babies arrive, elderly parents move in, or family members develop new medical conditions, update supplies and procedures to address these changing needs. For a comprehensive list of items to review and update regularly, see Flood Preparedness Checklist.
Final Words
Your family flood evacuation plan works when everyone knows their part and you’ve practiced the steps before the water starts rising.
Start this week by checking your flood zone, picking your meeting places, and having one conversation with your household about where you’ll go and how you’ll get there.
Print your evacuation route map. Pack your 72-hour kit. Test your communication plan.
The work you do now means you won’t freeze when the alerts start coming through your phone. You’ll move with purpose instead of panic, and that makes all the difference when minutes count and roads are filling fast.
FAQ
How do I create an evacuation plan for my family?
You create an evacuation plan for your family by first checking if you live in a flood zone, identifying evacuation routes to higher ground, and establishing meeting places outside your neighborhood. Include all family members in planning, prepare a 72-hour emergency kit, and practice the plan regularly.
What are the 5 P’s of evacuation?
The 5 P’s of evacuation are People (family and pets), Prescriptions (medications and medical equipment), Papers (important documents), Personal needs (clothing and hygiene items), and Priceless items (irreplaceable valuables). These categories help you remember critical items to grab when evacuating quickly during a flood emergency.
Can you make your own evacuation plan?
You can make your own evacuation plan by identifying your flood risk, mapping multiple routes to safety, designating meeting locations, establishing communication protocols, and preparing emergency supplies. Tailor your plan to your family’s specific needs including children, elderly members, and pets.
How to make a family emergency preparedness plan?
You make a family emergency preparedness plan by assessing your flood risk using FEMA maps, planning evacuation routes in different directions, choosing safe meeting places on higher ground, creating a communication system with an out-of-town contact, and building a 72-hour emergency kit with supplies for everyone including pets.
Where should my family meet during a flood evacuation?
Your family should meet at two designated locations during a flood evacuation: one near your home for quick reunification and another outside your neighborhood on higher ground for major evacuations. Both locations should be above flood-prone areas and known to all family members in advance.
When should I evacuate during a flood?
You should evacuate during a flood when authorities issue a mandatory evacuation order or when you see rising water approaching your home. Leave early before roads become impassable, traffic increases, and conditions worsen. Never wait until the last minute when floodwater is already moving.
What supplies do I need in my flood evacuation kit?
You need in your flood evacuation kit water (one gallon per person per day for three days), non-perishable food, medications, first aid supplies, important documents in waterproof containers, cash, flashlights, batteries, phone chargers, clothing, and emergency blankets. Include specific items for children and pets.
How do I evacuate with pets during a flood?
You evacuate with pets during a flood by preparing a pet emergency kit with food, water, medications, carriers, leashes, and veterinary records. Research pet-friendly shelters and hotels along your evacuation routes in advance. Never leave pets behind when you evacuate your home.
Should I turn off utilities before evacuating for a flood?
You should turn off utilities before evacuating for a flood when water is approaching your home or when authorities recommend it. Shut off gas and electricity at main switches, but leave refrigerators and freezers plugged in unless flooding is imminent. Unplug other electronics when time allows.
How often should I practice my family evacuation plan?
You should practice your family evacuation plan at least twice per year, ideally before flood season begins. Conduct timed drills, review meeting locations and routes, check emergency kit supplies, and update contact information to keep everyone prepared and reduce panic during real emergencies.